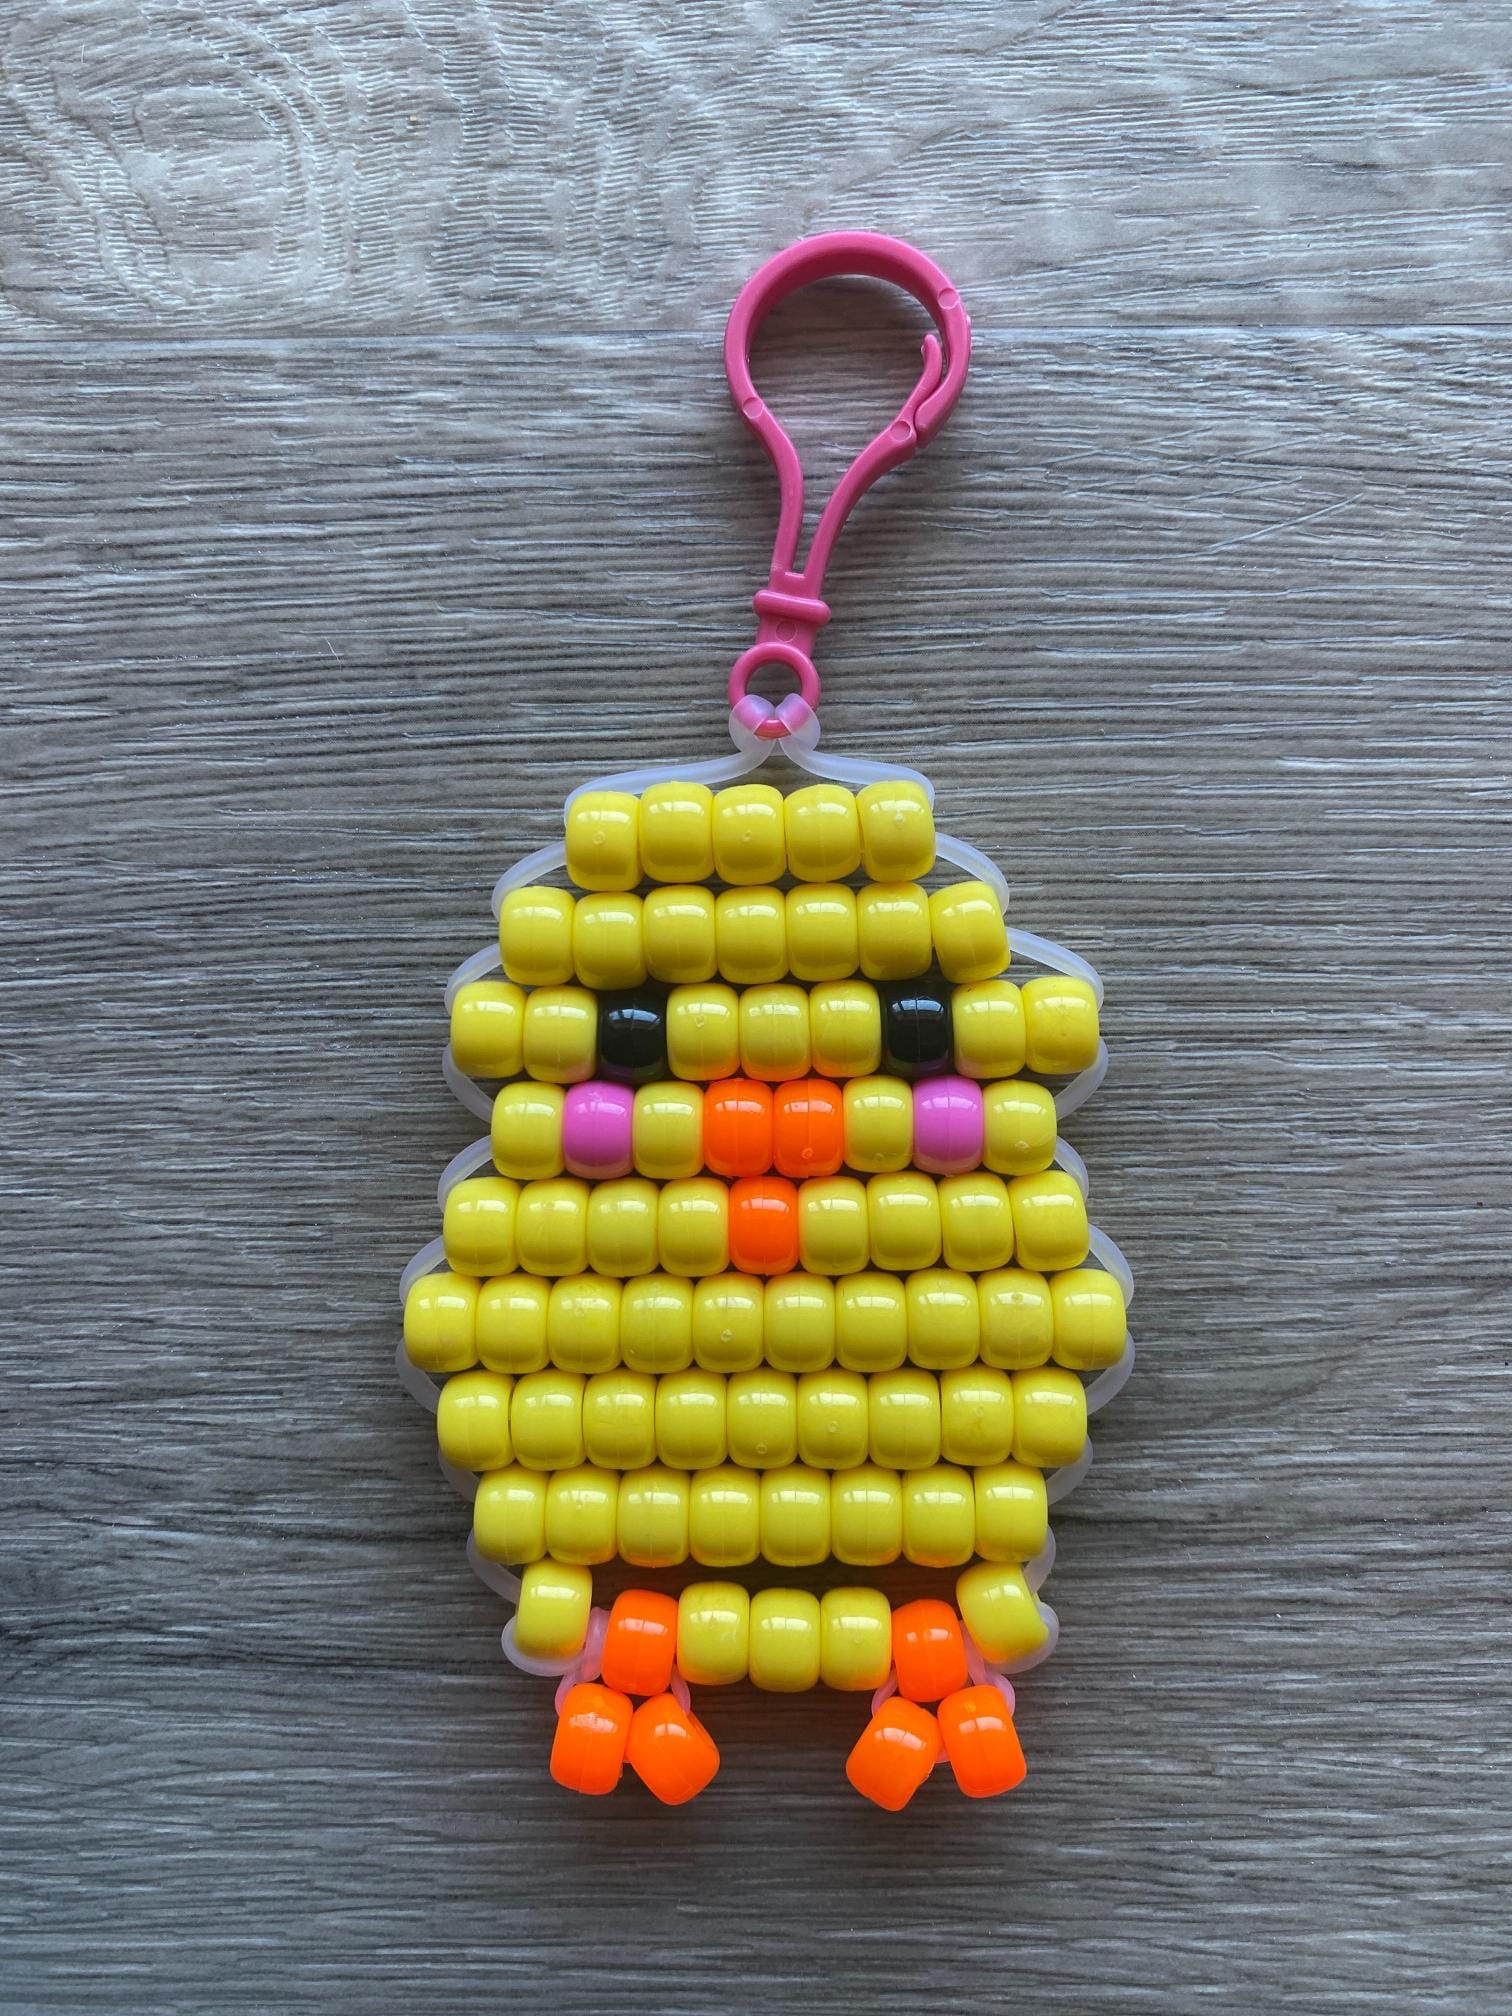
There is something undeniably cheerful about a baby chick. That fluffy little yellow puffball energy is basically impossible to resist, and it translates into pony bead form better than you might expect. This pony bead baby chick bead buddy is one of those crafts that looks impressive when it’s done but comes together with a surprisingly simple color palette and a whole lot of charm.
Why a Baby Chick Is Such a Fun Bead Buddy Design
Most bead buddy designs lean heavily on bright, multi-color palettes. Think parrots, flamingos, and tropical fish. The baby chick is a refreshing change of pace. The limited color palette actually makes it a great beginner-friendly project since you’re not constantly switching between a dozen bead colors, and that soft yellow is just so satisfying to work with.
It also makes this design incredibly versatile for seasonal crafting:
- Easter baskets and spring décor: tuck a few finished chicks into an Easter basket for a handmade touch that beats plastic grass any day
- Spring classroom parties: simple enough for a group activity and finished fast enough to fit in a party window
- Mother’s Day gifts: a little chick on a keychain is a sweet handmade gift from kids to parents or grandparents
- Craft fair season: spring markets eat these up, especially in the weeks leading up to Easter
Supplies You’ll Need
- Pony Beads
- Pony Bead Lacing (Here’s an explanation of why pony bead lacing is the best for making bead buddies.)
- Scissors
- Measuring Device
- Key ring or lobster clasp

The beauty of this project is how short the supply list is. If you keep a general pony bead stash at home, there’s a good chance you can make this right now without a single trip to the store.
How to Make a Pony Bead Baby Chick Bead Buddy
Step 1: Cut and Prepare Your Lacing
Start by measuring and cutting your pony bead lacing to 100cm.

Next, fold the lacing in half and pull it through the key ring or lobster clap creating a lark’s head knot. This will create equal lengths of lacing.

Step 2: Lay Out Your Pattern in Pony Beads
Before you begin stringing your beads, it’s a good idea to lay out your pattern. Using a flat surface, place your beads in rows as shown in the photo below.

This allows you to see exactly how the colors in. your baby chick will turn out.
Step 3: String the Pony Beads
To string the beads, add the top row onto the left lacing.

Then thread the right lacing up through the beads.

Pull each lacing in opposite directions until taut. If you pull too tight, the rows will curl up. Make tension adjustments as you go.

Step 4: Add More Rows
Repeat Step 3 to add the second row of beads.

Continue adding rows by moving through your pattern from top to bottom.

Repeat, repeat, repeat until all the rows are strung.

Step 5: Create the Feet
To create the feet, thread each lacing through the orange bead on the bottom row, skipping the first bead.

Next, string two beads for the foot onto the left lacing.

Then loop the lacing around the last row, between the first and second beads, and tie it in a knot.

Repeat for the right foot.
Finishing Your Pony Bead Baby Chick
Once your chick is complete, trim any excess lacing close to the knot.

You made a pony bead baby chick!
More Bead Buddy Tutorials You’ll Love
Once you’ve made one bead buddy, it’s hard to stop. Here are more tutorials to keep you going:
- Axolotl Pony Bead Bag Charm
- Cat Pony Bead Bag Charm
- Dog Pony Bead Bag Charm
- Flamingo Pony Bead Bag Charm
- Fox Pony Bead Bag Charm
- Parrot Pony Bead Bag Charm
These are one of my favorite seasonal crafts to make and give, and I think once you finish your first one you’ll be making them by the dozen.