If you love colorful crafts that come together quickly, this pony bead parrot bag charm is going to be your new favorite project! Whether you call them bead buddies, bead pals, or pony bead charms, these little beaded characters have been around for decades, and they’re just as fun to make today as they ever were.
This pony bead parrot is bright, bold, and totally adorable dangling from a backpack, lanyard, zipper pull, or tote bag. It’s a great project for tweens and teens working independently, and with a little help, younger kids can enjoy it too.
What Is a Pony Bead Bag Charm?
Pony bead bag charms (sometimes called bead buddies) are 3D figures made from plastic pony beads strung together on a length of cord. You thread the cord through the beads in a specific pattern, pulling and shaping as you go, until a little character takes form. No glue, no special tools. Just beads, cord, and a little patience.

The finished charm is sturdy enough to clip onto a bag, backpack zipper, or keychain and hold up to everyday use. That’s part of what makes them such a satisfying craft. They’re cute and functional.
Why You’ll Love This Pony Bead Parrot
Parrots are one of those designs that just works beautifully in pony beads. The chunky, rounded beads mimic the look of feathers perfectly, and the bright tropical colors. Think vivid greens, electric blues, bold reds, and sunny yellows. No bead shopping tricks needed here; your basic pony bead color palette was practically made for a parrot!
This design is also a fantastic option if you’re looking for:
- A craft fair project that sells well and uses minimal supplies
- A summer camp or classroom craft that kids can complete in one session
- A quick handmade gift or party favor
- A fun way to use up leftover beads from other projects
Supplies You’ll Need
Before you dive into the tutorial, gather your supplies. Here’s what you’ll need to make your pony bead parrot bag charm:
- Pony Beads
- Pony Bead Lacing (Here’s an explanation of why pony bead lacing is the best for making bead buddies.)
- Scissors
- Measuring Device
- Key ring or lobster clasp

How to Make a Pony Bead Parrot Bag Charm
Step 1: Cut and Prepare Your Lacing
Begin by measuring and cutting your pony bead lacing to 125cm.

Then fold the lacing in half and pull it through the key ring or lobster clasp to create a lark’s head knot. This will give you two equal strands of lacing to work with.

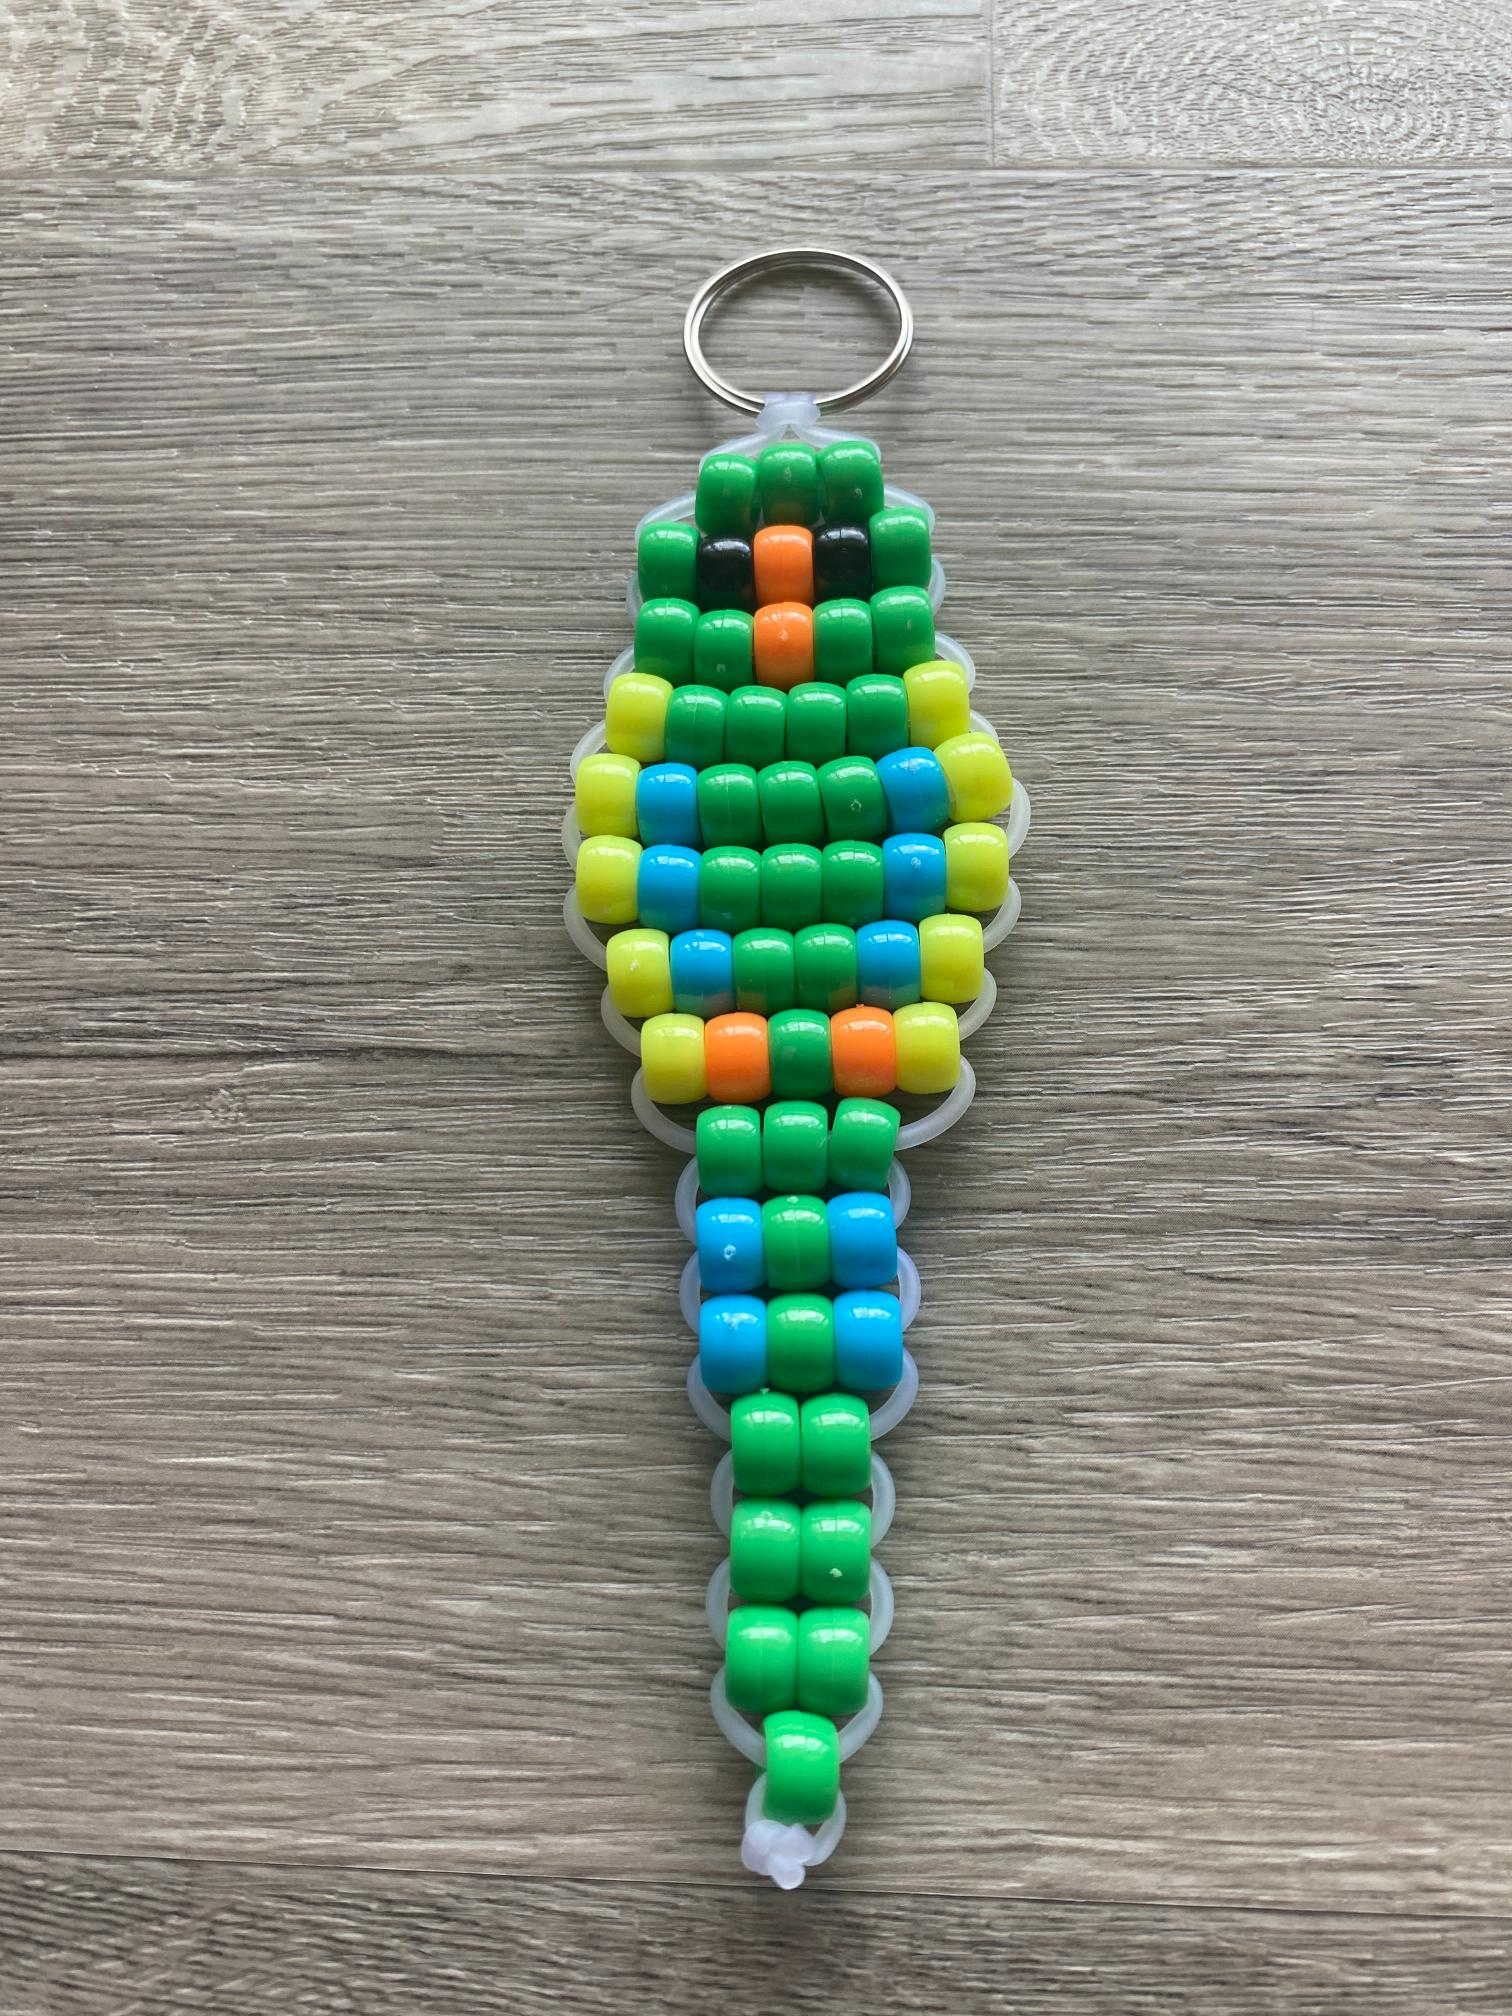
Step 2: Lay Out Your Bead Pattern
Before you start stringing, it is helpful to lay out your beads on a flat surface using the reference photo below. This allows you to see exactly how the colors of your parrot will turn out.

Step 3: String the Pony Beads
To add the beads, string the top row of beads onto the left lacing.

Then thread the right lacing up through the beads.

Now pull the lacings in opposite directions until taut.

Step 4: Add More Rows
Moving from top to bottom through your pattern, repeat Step 3 above to add the next row.

Continue adding rows to build your pony bead parrot bag charm.

Repeat, repeat, repeat until all the rows are strung.

Step 5: Secure the Lacing
To secure the lacing, tie them together into a knot.

Step 6: Trim Excess Lacing
Trim the remaining lacing ends with craft scissors. You made a pony bead parrot bag charm!

More Pony Bead Charm Tutorials You’ll Love
Love this project? Check out some of my other bead buddy tutorials right here on Crafting Through Life: