
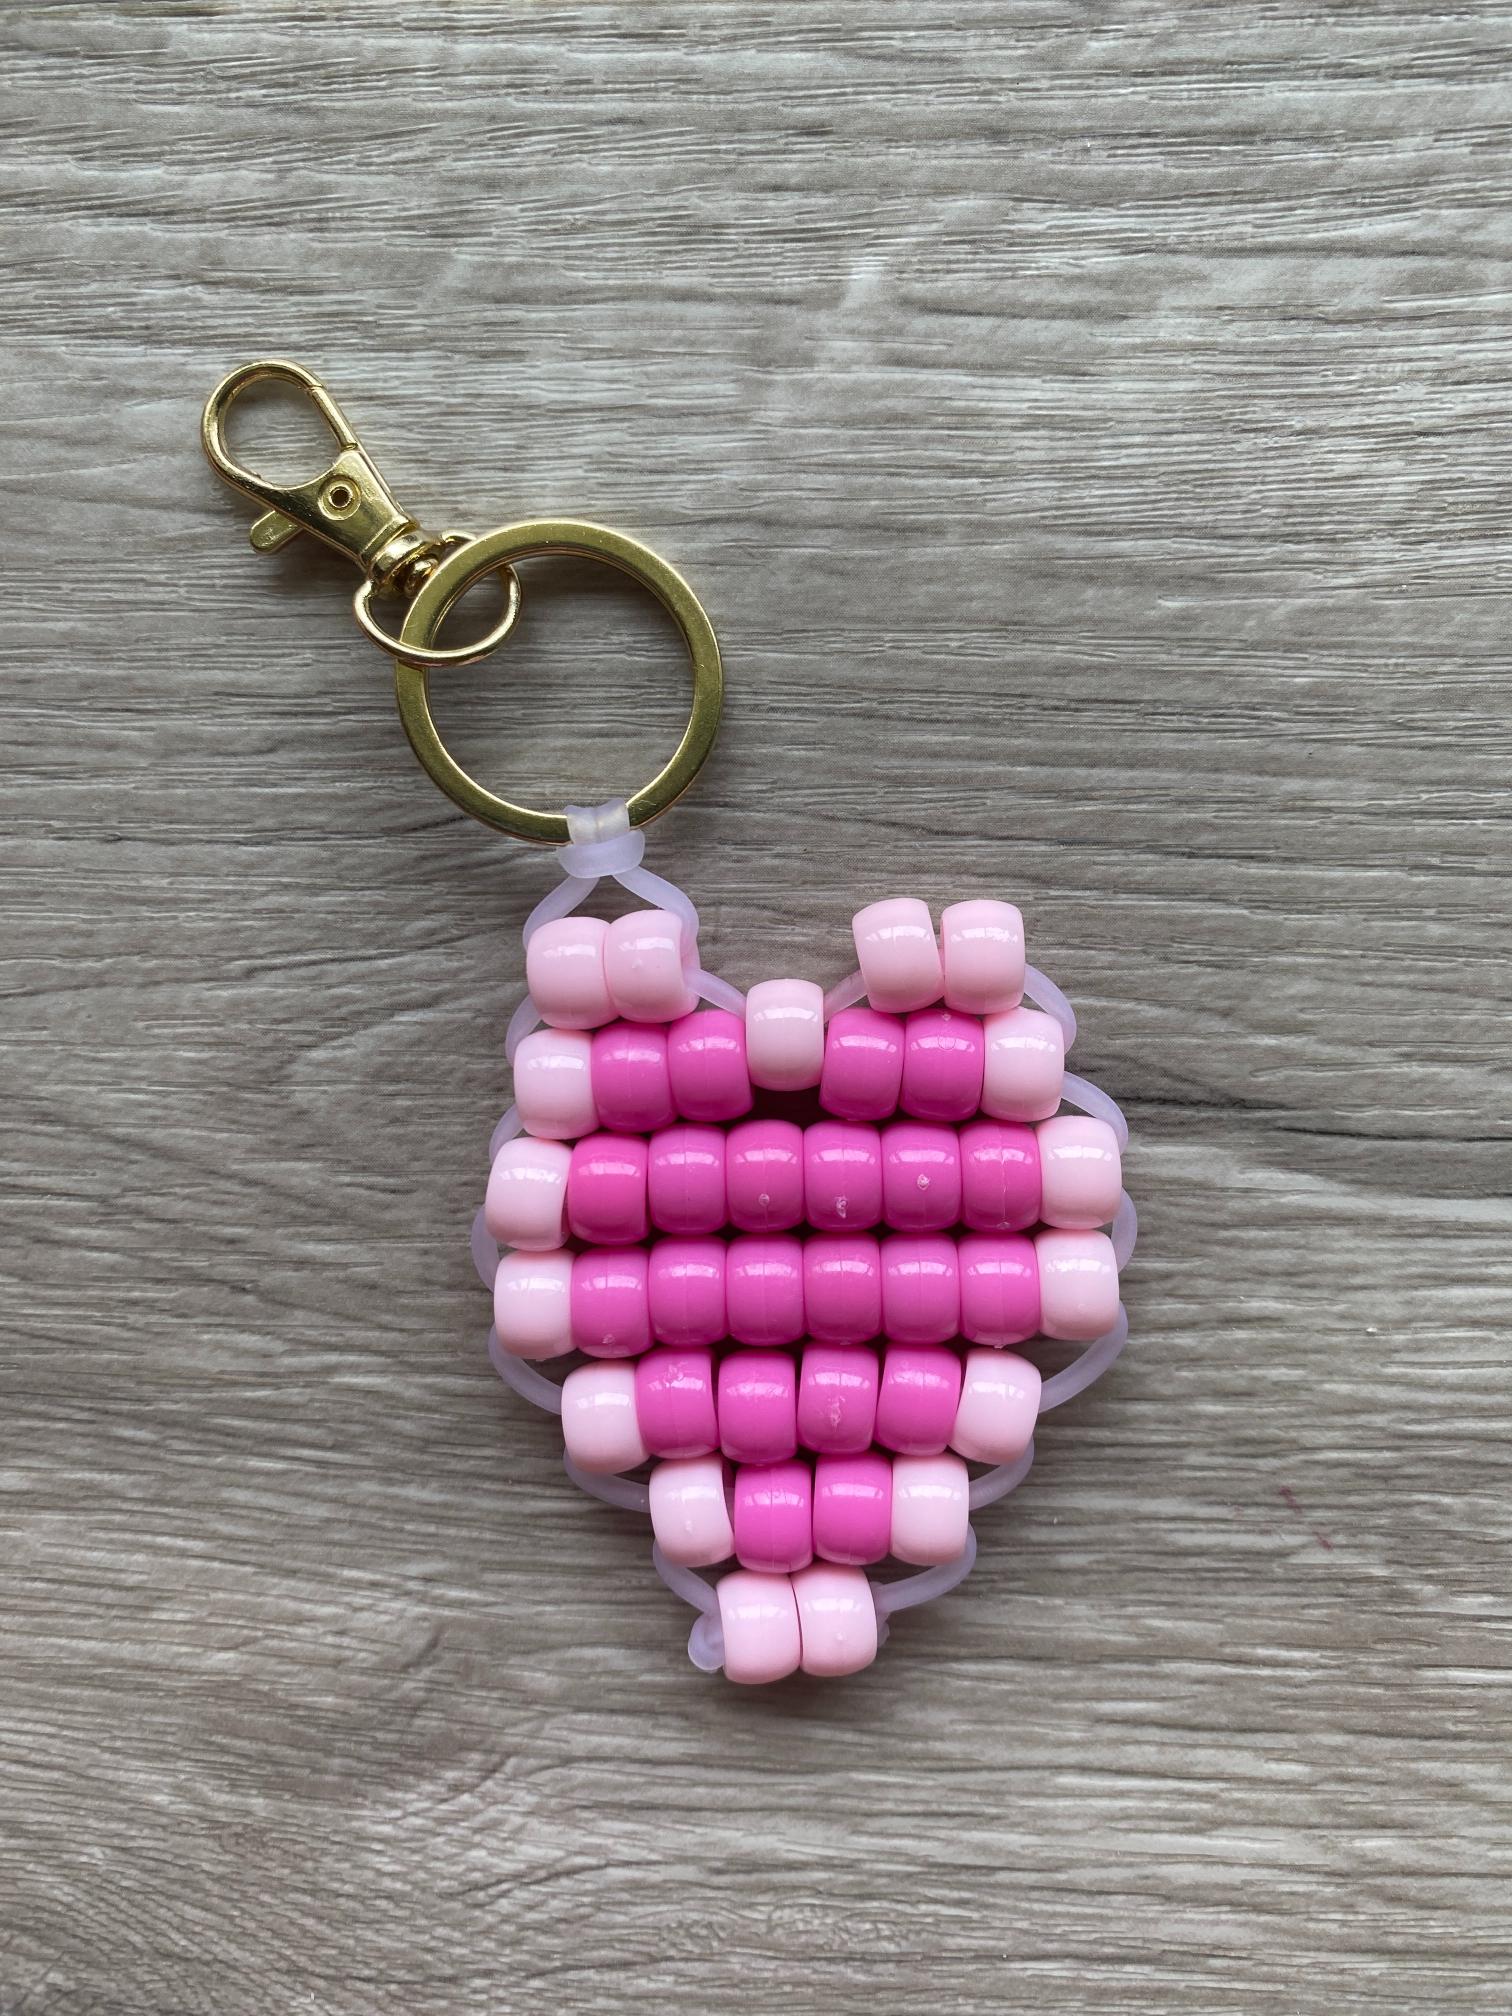
Some crafts are just made for giving away, and a pony bead heart is at the top of that list. Clip one onto a gift bag instead of a bow. Tuck one inside a card. Make a batch for your kids to hand out at school. Keep one on your keys because you deserve something cute too.
The heart shape is simple, fast, and universally loved. In pony beads, it comes together in a single sitting with a satisfying, chunky look that’s way cuter than the effort required.
This is a great first project if you’ve never made a bead buddy before, and if you have, it’s the kind of quick win that fits nicely between bigger, more detailed designs.
Make It for Any Occasion
The heart is one of those rare shapes that works for almost every celebration on the calendar. Here are a few ways to theme yours:
Valentine’s Day – Classic red or pink with white accents. Make a set and clip them onto Valentines for the whole class.
Mother’s Day – Soft lavender, blush, or rose gold tones for something that feels a little more elevated and gift-worthy.

Galentine’s Day – Hot pink and gold, or a bold mix of fuchsia and coral. Loud and proud.
Anniversary or Just Because – Deep red with iridescent or pearl beads for a heart that looks a little more luxe.
Kids’ Craft Night – Let them pick any two colors. There’s no wrong answer when it’s made with love.
Rainbow Heart – Work through the full rainbow spectrum row by row for a pride-inspired or just plain joyful version.
Quick Tips for a Clean Finish
Even tension makes the biggest difference with a heart shape. The two humps at the top are what give it away as a heart rather than just a blob, so keep your rows snug and even as you build up.
Lay your bead colors out before you start stringing, especially if you’re doing two-tone or gradient colors. The heart goes fast, and it’s easy to accidentally grab the wrong bead color mid-row.

If you’re making these as gifts or party favors and doing multiples, set up an assembly line. Measure all your lacing pieces first, then bead each one start to finish before moving on.
Pony Bead Heart FAQs
What’s the best color for a pony bead heart?
Red and pink are the classics, but honestly any color works. White, purple, teal, black. Hearts look great in every color.
Can kids make this?
Yes! The heart is one of the most beginner-friendly bead buddy shapes. It’s a great starter project for kids ages 6 and up with a little supervision.
Can I use it as an ornament instead of a keychain?
Absolutely! Skip the lobster clasp and use a jump ring or a loop of lacing instead to hang it on a tree, a wreath, or a gift tag.
Supplies
Grab these before you get started:
- Pony Beads in your chosen colors
- Pony Bead Lacing
- Scissors
- Measuring Device
- Key ring or lobster clasp

If you’re new to pony bead lacing and wondering why it matters, this post breaks it all down.
How to Make a Pony Bead Heart
Step 1: Prepare the Lacing
Begin by measuring 95 centimeters of pony bead lacing, and cut it to length using craft scissors.

Then fold the lacing in half and pull it through the key ring or lobster clasp. This is called a lark’s head knot and will form two equal lengths of lacing – a right and left.

Step 2: Lay Out Your Pattern
On a flat surface, use the photo below to lay out your pattern in pony beads. This step allows you to experiment with colors and envision the end result.

Step 3: Start Stringing Your Pony Bead Heart
Start by stringing the top two left beads of your pattern onto the left lacing.

Then thread the right lacing up through those two beads.

Pull the lacings in opposite directions until the beads for a horizontal row just under the knot.

Step 4: Form the Top of the Heart
Next, string the center bead of the second row and the top two right beads onto the right lacing.

Then string the three left beads of the second row onto the left lacing.

Now thread the left lacing through the first bead on the right lacing.

String the three remaining beads of the second row onto the left lacing.

Then thread the right lacing back through all the beads in the second row, including the center bead.

Step 5: Add More Rows
Now that the top of the heart is formed, add more rows to complete the shape. Begin by stringing the third row of beads onto the left lacing.

Then thread the right lacing up through all the beads, and pull the lacings in opposite directions to create the horizontal row.

Step 6: Continue Adding Rows
Continue adding rows as shown in Step 5 by moving through your pattern from top to bottom…

Until all your beads are strung.

Step 7: Tie Off the Lacing
To secure the lacings, loop each one through the row above it and tie it in a single knot.

Step 8: Trim Excess Lacing
Use craft scissors to trim an excess lacing near the knots.

You made a pony bead heart!