
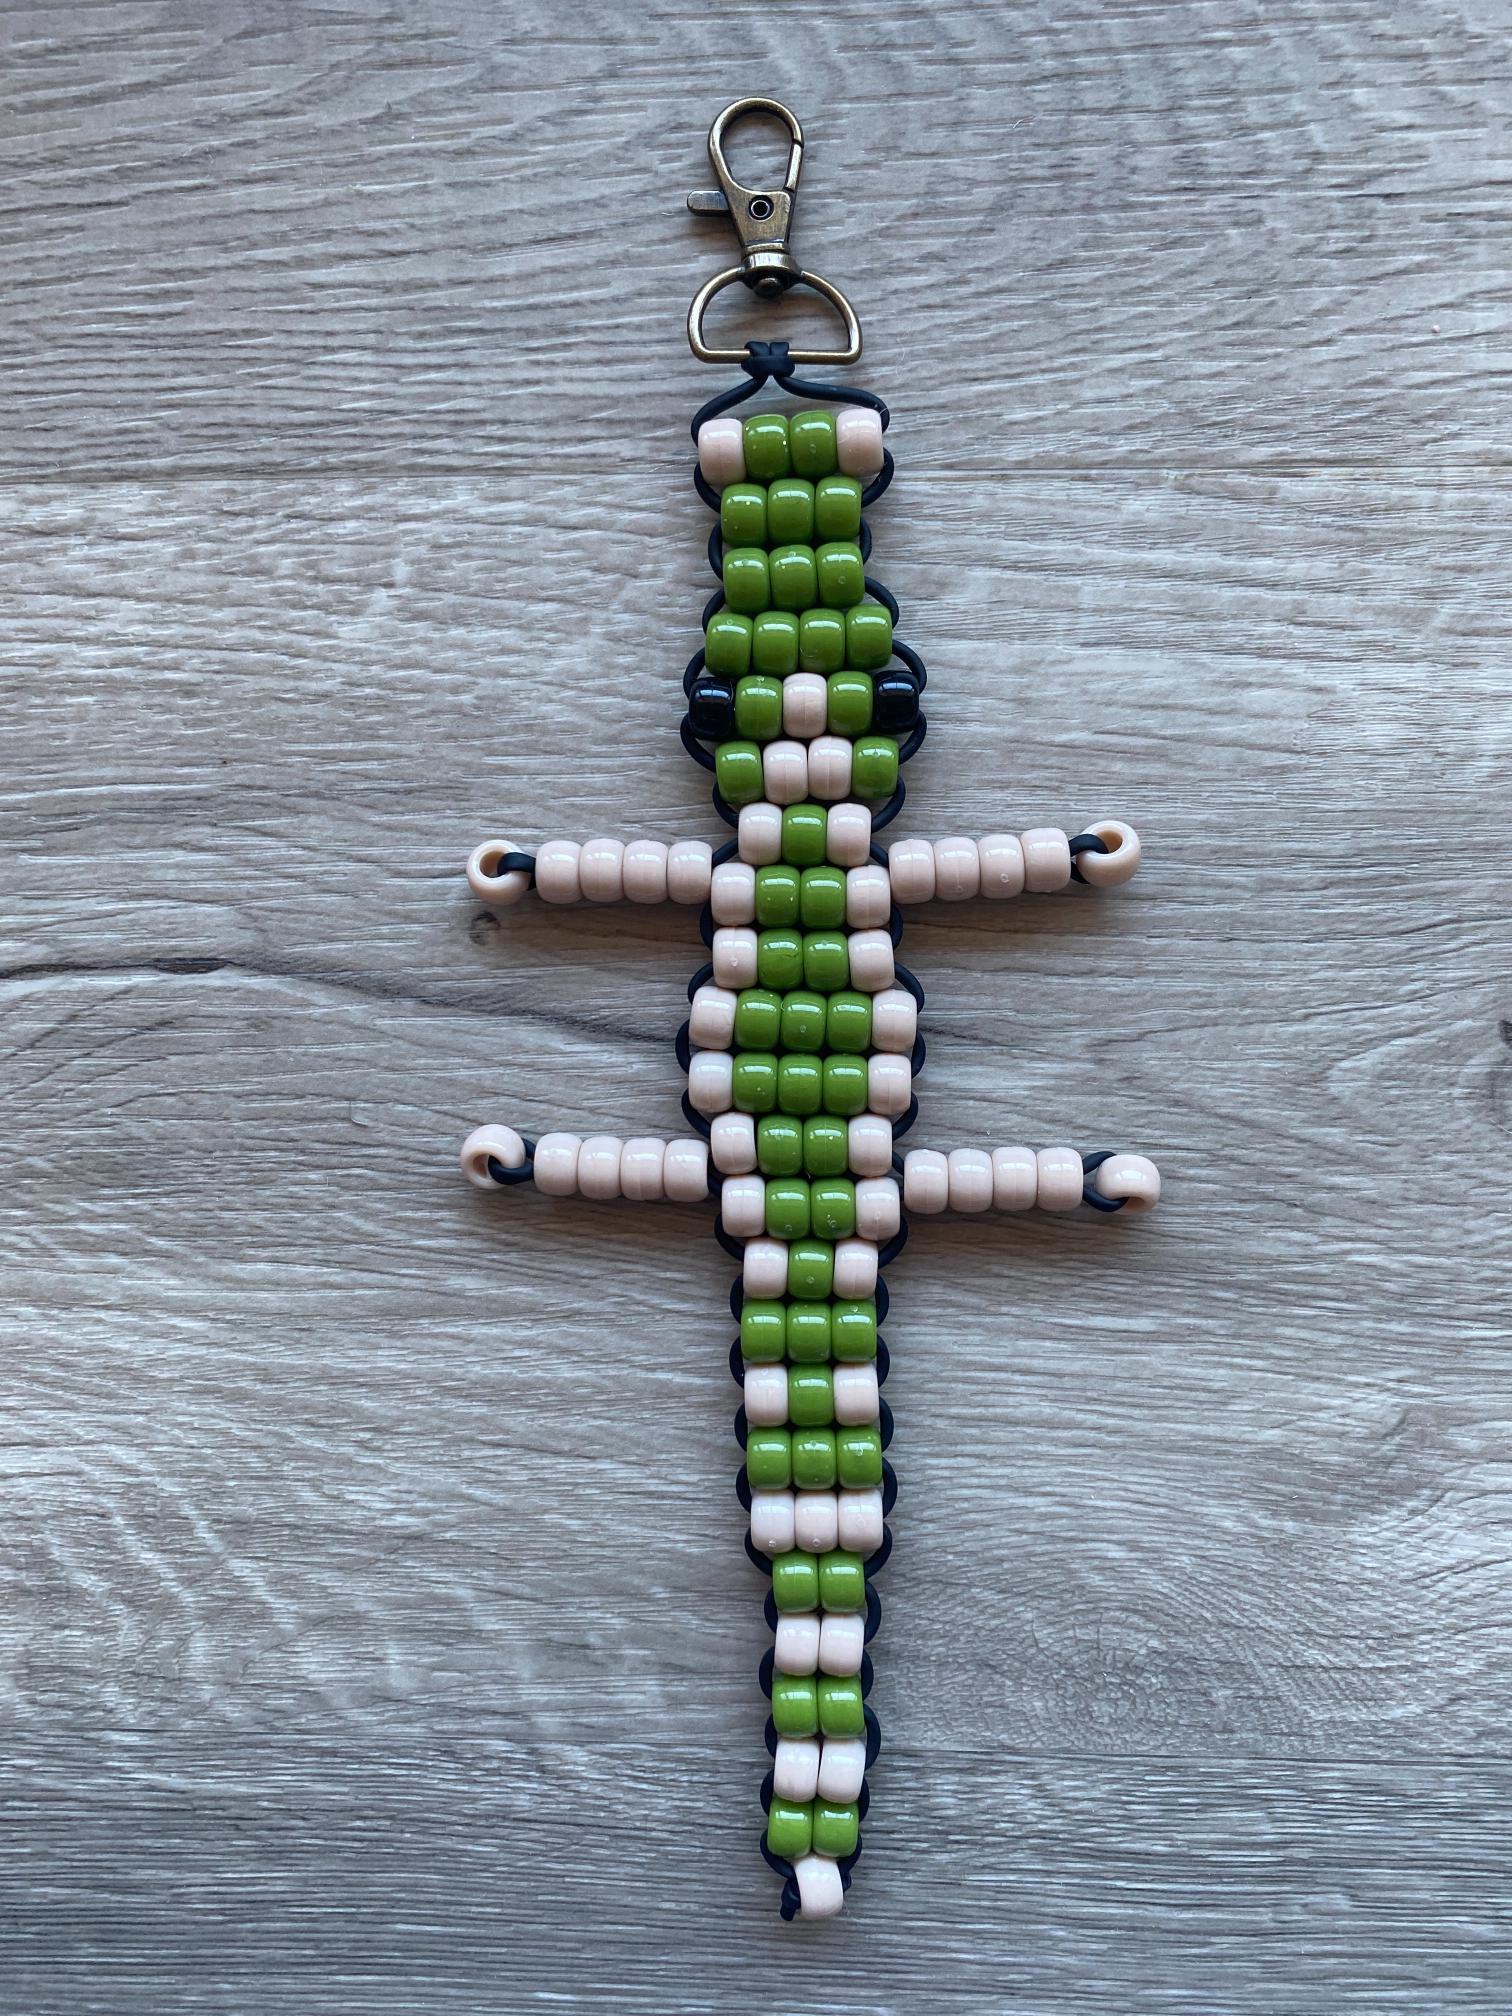
There’s something extra satisfying about finishing a pony bead crocodile. Maybe it’s the long, textured body, or maybe it’s just how good it looks snapping shut on a zipper pull. Either way, this design has a little more personality than your average bead buddy, and it’s a fun next step once you’ve got a few simpler charms under your belt.
Reptile-shaped pony bead patterns have always had a following in the bead-buddy world, and the crocodile is one of the most fun to make because of its bumpy back and long tail. It’s a step up in detail from something like the lizard keychain, but still totally doable if this is your first bead animal. It just might take a little more focus.
Is This One For You?
You’ll probably love making a pony bead crocodile if:
- You’ve already made a few simpler charms and you’re ready for something with a bit more shape
- You’re into nature or animal-themed crafts and want something outside the usual cat-and-dog lineup
- You want a bag charm that actually gets people to stop and ask, “wait, how did you make that?”
- You’re building out a swamp, jungle, or reptile-themed collection alongside things like frogs or lizards
- You just think crocodiles are cool. No further explanation needed.
If any of those sound like you, grab your beads and let’s get into it.

Color Scheme Ideas
Crocodiles don’t have to stay realistic. Here are a few directions to take this pattern:
- Classic Swamp Green – deep green body with a lighter green or cream belly
- Golden Gator – warm gold and tan tones for a sun-bleached look
- Albino Croc – white and pale pink for a striking, unexpected twist
- Neon Reptile – bright green or lime with black accents for a bold, eye-catching charm
- Camo Croc – mix of green, brown, and black beads for a mottled camouflage effect
- Pastel Gator – soft mint and lavender for a playful, non-traditional take
Supplies You’ll Need
Here’s everything you’ll want to have on hand before you get started. These are the exact supplies used in this project. Grab them below:

How to Make a Pony Bead Crocodile Bag Charm
Step 1: Prepare the Lacing
Start by measuring 200 centimeters of pony bead lacing. Cut it to length with craft scissors.

Then fold the lacing in half, and pull it through the key ring or lobster claw to form a lark’s head knot.

Step 2: Lay Out the Pattern
Working on a flat surface, use the photo below as a guide to lay out your pattern in pony beads. This is a great time to experiment with different colors.

Step 3: String the Beads
Begin by stringing the top row of beads onto the left lacing.

Now thread the right lacing up through the beads.

Pull each lacing in opposite directions until the beads form a horizontal row just under the knot.

Repeat this step to add the second row of pony beads.

Continue working through the pattern from top to bottom, adding rows until you reach the arms.

Step 4: Add the Arms
To add the left arm, string all the left arm beads in the pattern into the left lacing.

Then loop the left lacing around and back through the beads, skipping the last one.

Repeat this step to add the right arm onto the right lacing.

Step 5: Continue Adding Rows
Again working through the pattern from top to bottom, continue adding rows as you did in Step 3.

Add rows until you reach the legs.

Step 6: Add the Legs
To add the legs, add them as you did for the arms in Step 4.

Step 7: Form the Tail
Form the tail by continuing to add rows from top to bottom.

Add row after row until all your beads in the pattern are strung.
Step 8: Secure the Lacing
Loop each lacing through the row above, and tie them in single knots.

Step 9: Trim Excess Lacing
Use craft scissors to trim away the excess lacing.

You made a pony bead crocodile bag charm!

More Pony Bead Patterns You’ll Love
If you had fun with this one, check out these other pony bead tutorials on the blog: