
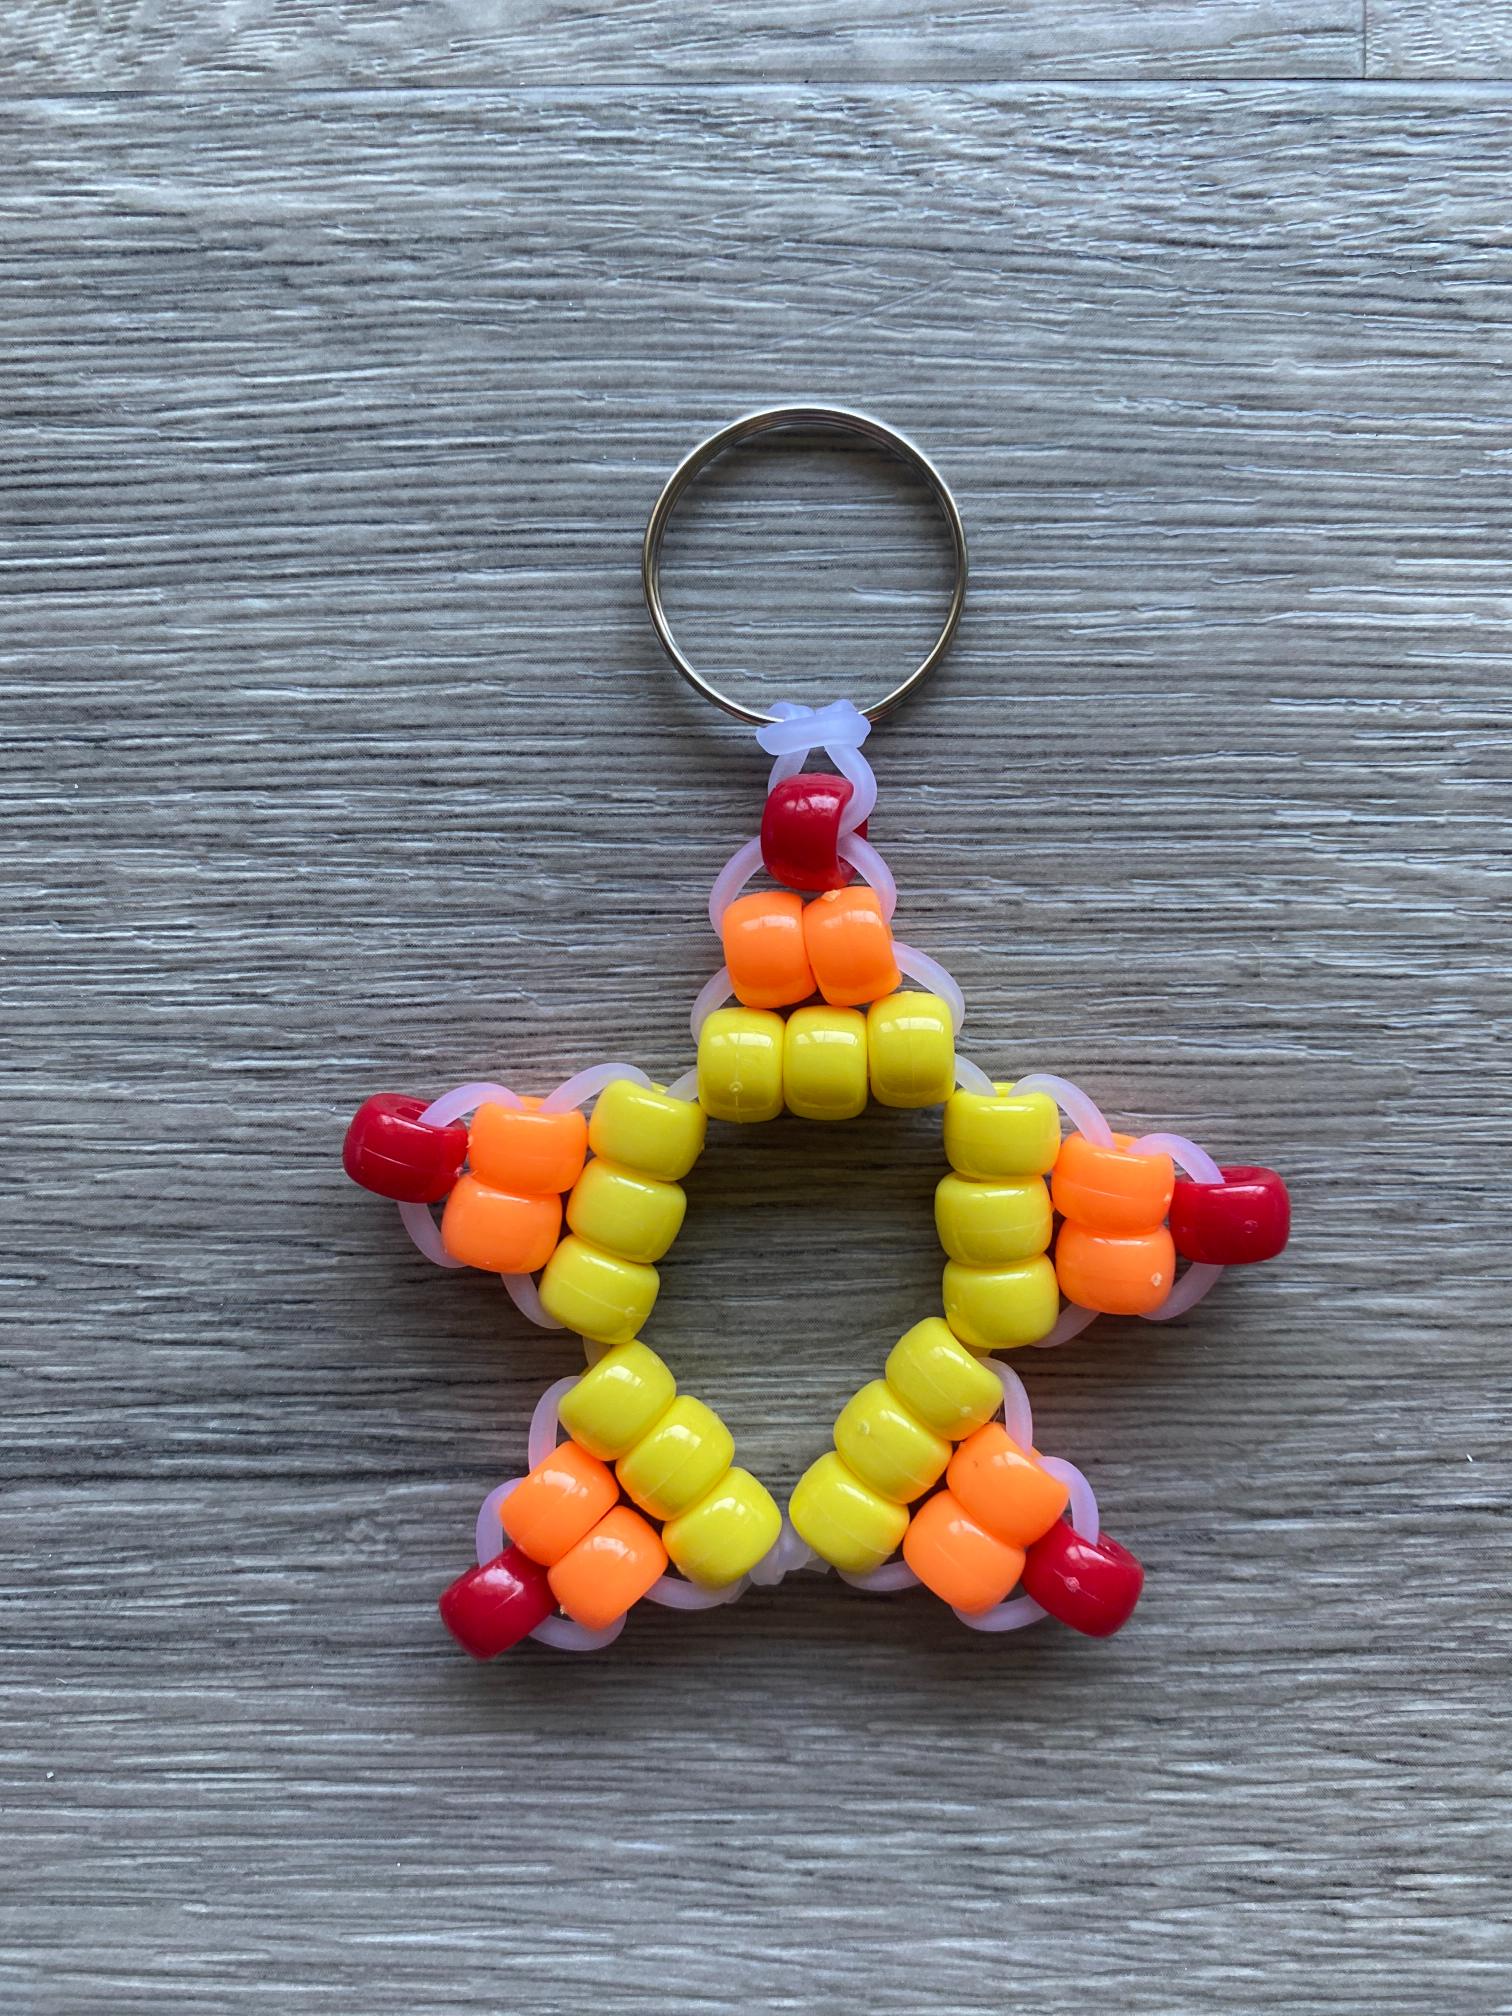
Quick Facts
- Skill Level: Beginner
- Time to Make: 20–30 minutes
- Best For: Bag charms, keychains, party favors, patriotic and summer crafts
A pony bead star is one of those patterns that just works no matter the season. Make it red, white, and blue for the Fourth of July. Make it gold for a celebration. Make it rainbow for absolutely no reason other than it looks amazing on a backpack. The five-point shape is bold, recognizable, and honestly really satisfying to watch come together row by row.
This one’s a great next project if you’ve already made a few bead buddies, but it’s also totally doable as a first-timer pattern. The points take a little patience, but nothing here requires advanced technique.
What You’ll Need

Before you sit down to bead, grab these:
Not sure why pony bead lacing matters so much for bead buddies? Here’s a full breakdown of why it’s worth using over regular string or elastic.
Color Combos to Try
A star is basically a blank canvas, so have fun with it:
| Theme | Colors |
|---|---|
| Patriotic | Red, white, and blue points with a silver or white center |
| Gold Star | All gold or yellow for a “you did great” kind of charm |
| Galaxy | Deep purple and black points with a silver center |
| Sunset | Orange, pink, and yellow blended across the points |
| Rainbow | Every point a different color, white or clear center |
| Holographic | Iridescent or glow-in-the-dark beads for a fun nighttime glow |
Why This Pattern Is Worth Making
A few things that make the star pattern stand out from other bead buddies:
It’s symmetrical, which means once you get the rhythm of one point down, the rest follow the same pattern. That repetition makes it faster to bead than it looks.
It’s seasonless. Unlike a lot of holiday-specific charms, a star fits year-round, which makes it one of the more practical patterns to keep in your rotation.
It photographs really well. The points catch the light nicely, especially in metallic or holographic beads, which makes it a strong choice if you’re sharing your work on social media.
How to Make a Pony Bead Star
Step 1: Prepare Your Lacing
Begin by measuring 80 centimeters of pony bead lacing. Cut it to length with craft scissors.

Once cut, fold the lacing in half and pull it through the key ring or lobster clasp. This forms a lark’s head knot and creates two equal lengths of lacing.

Step 2: Lay Out the Pattern
Next, lay out your pony beads on a flat surface using the photo below as a guide. It won’t look like a star quite yet, but doing this step will make sense during the beading process.

Step 3: String the Beads
Begin by stringing the top bead onto the left lacing.

Then thread the right lacing up through the bead.

Now pull the lacings in opposite directions until taut. The bead should rest horizontally just under the lark’s head knot.

Moving from top to bottom through your pattern, repeat that process to add the second row of beads.

Add the third row as well.

Step 4: Create the Left Point
To create a point on the left, string all six beads onto the left lacing.

Then loop the lacing around and back through two beads, skipping one.

Pull it all the way through.

Next loop the left lacing around and back through the three remaining beads.

Allow the beads to twist into place as you pull the lacing taut.

Step 5: Add the Right Point
To create a point on the right, string all six beads onto the right lacing.

Then loop the right lacing around through two beads, skipping one.

Pull the lacing all the way through. Now loop it around again and through the remaining three beads.

After pulling the lacing taut, you should have three points lined up in a row.

Step 6: Add More Points
Repeat Step 4 to add another point to the left lacing.

And repeat Step 5 to add the final point to the right lacing.

Now you should have five points lined up in a row.
Step 7: Tie the Lacing
To form the star shape, pull the lacings down to meet at the bottom center. Tie the lacings together in a knot to secure.

Step 8: Trim Excess Lacing
Trim any excess lacing with craft scissors.

You made a pony bead star!

Keep the Beading Going
If you had fun making this pony bead star, try one of these next: