
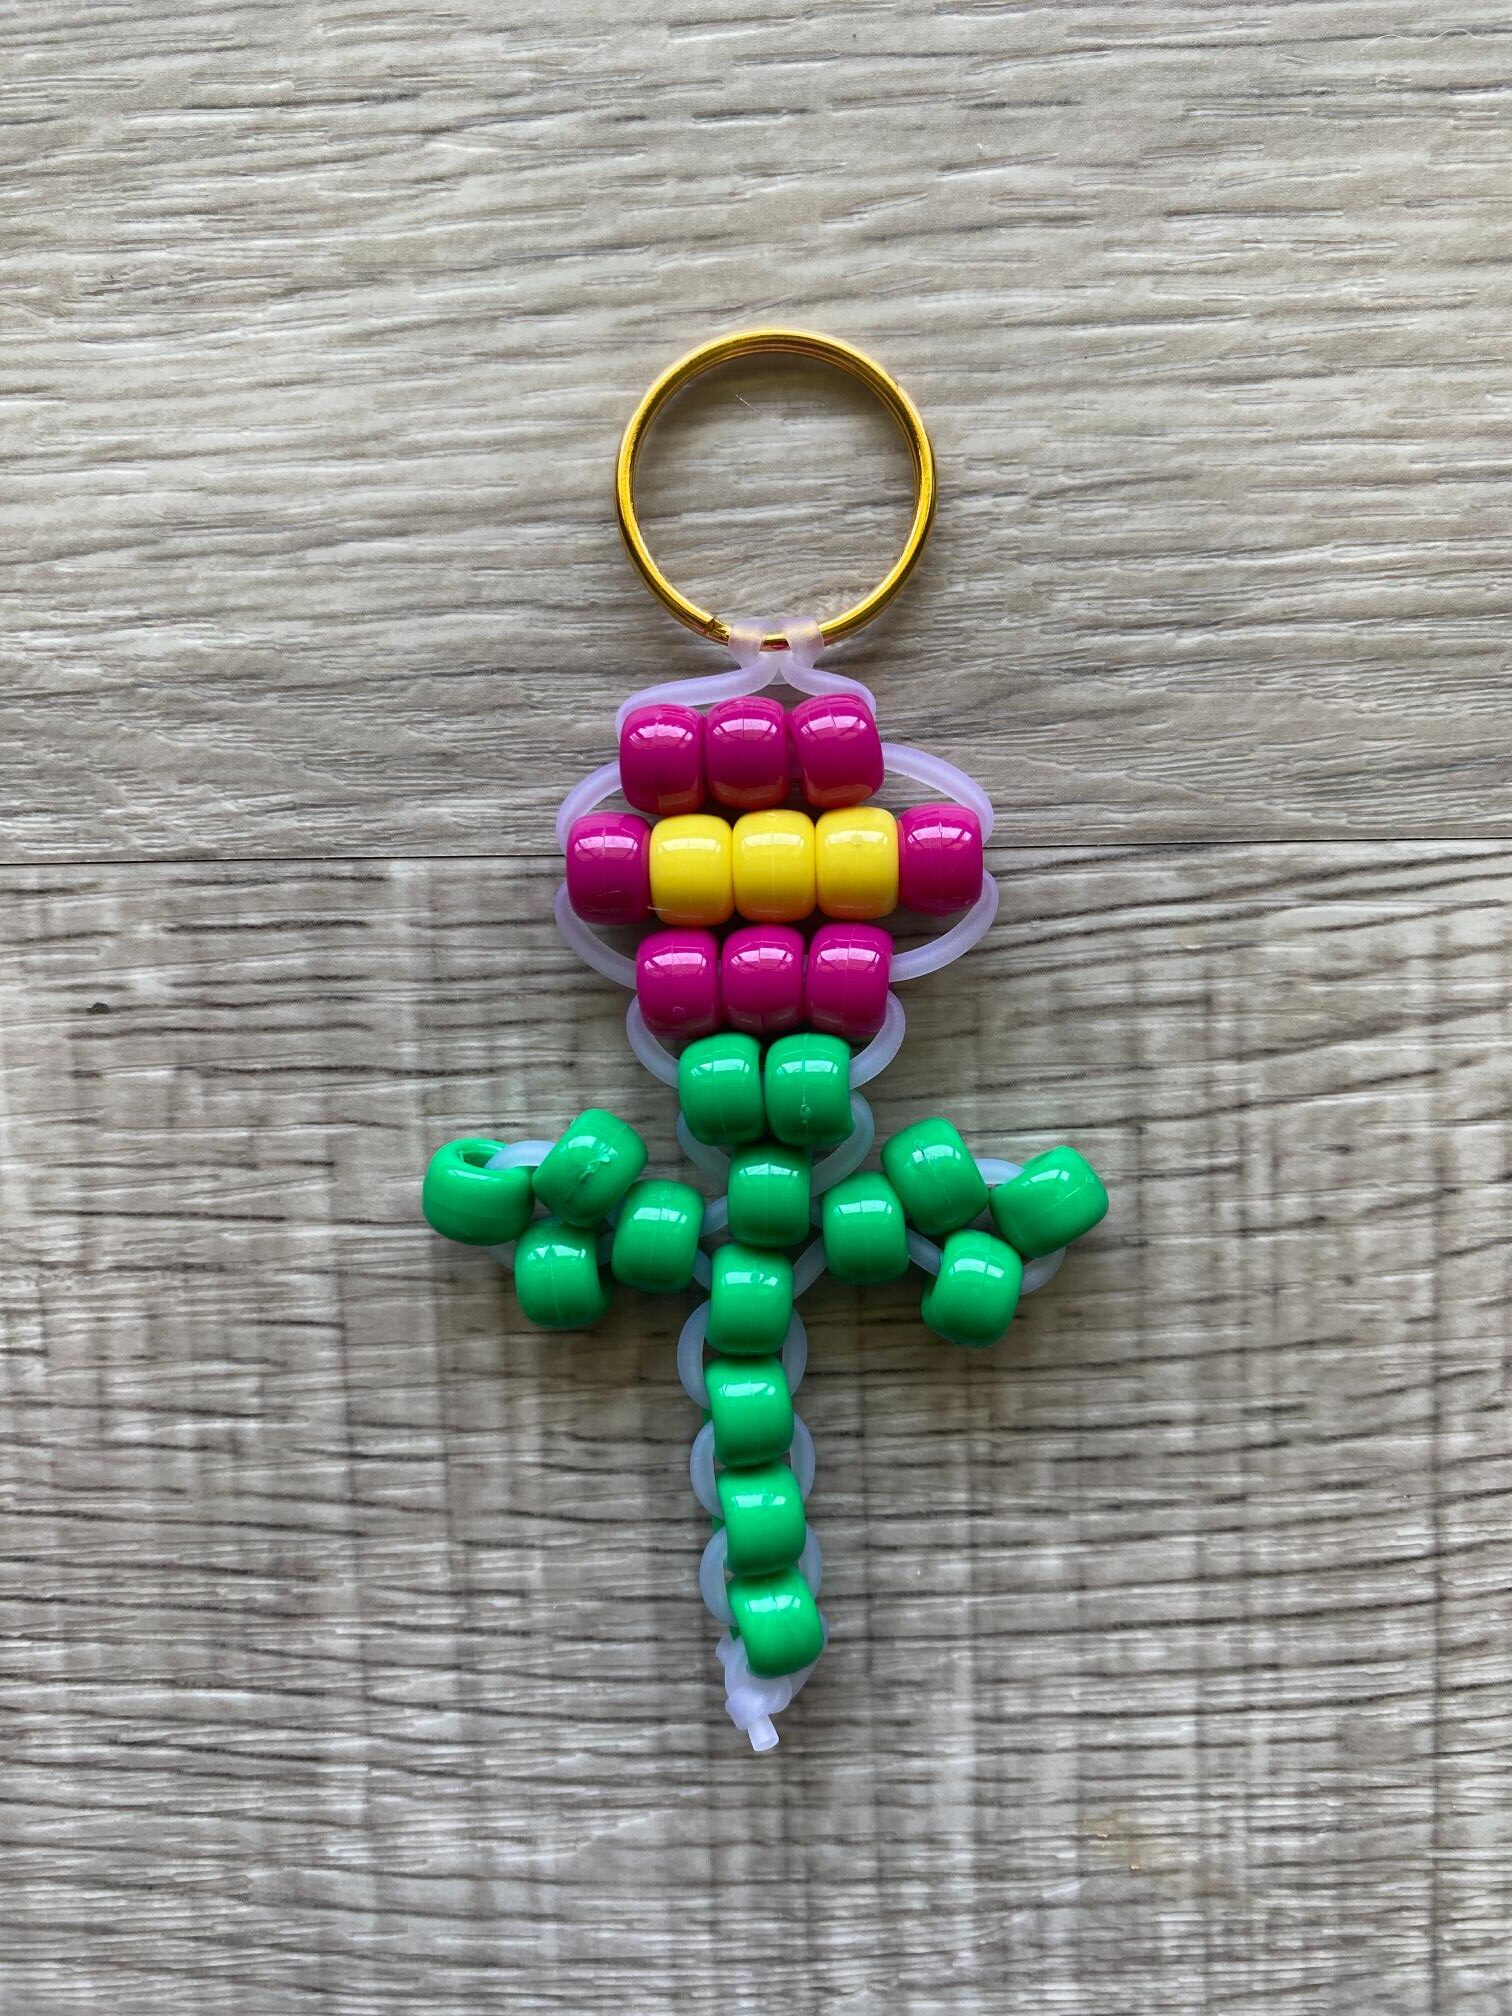
Nothing brings joy like a cheerful pony bead flower dangling from your bag or keys. This pony bead flower pattern is one of those designs that looks way more impressive than it actually is to make, which means it’s perfect for beginners and super satisfying for anyone who’s been beading for a while.
Whether you’re making a batch for a birthday party, a summer craft activity with the kids, or just adding something cute to your everyday bag, this flower bead buddy delivers every single time. The petals, the center, the pop of color all come together into something that genuinely looks like you worked a lot harder than you did.
Why You’ll Love This Pony Bead Flower Pattern
Flower designs are a staple in the pony bead world for good reason. They’re universally loved, easy to customize, and quick enough to make in a single sitting. This particular pattern has a classic daisy-style silhouette with a bold center bead and radiating petals that give it a clean, polished look.

It also makes a fantastic first project if you’re just getting started with bead buddies. The shape is forgiving, the row count is manageable, and the finished charm is something you’ll actually want to keep or give away.
Tips for the Best Results
A few things that’ll make your pony bead flower come out looking its best:
Use a contrasting color for the center bead. The center is what anchors the whole design visually, so the more it stands out against your petal color, the better the finished charm will look.
Keep your tension consistent from row to row. This is especially important with flower patterns because uneven tension can cause the petals to pucker or curl instead of lying flat.

Lay your bead colors out on a flat surface before you start stringing. It only takes a minute and it saves you from getting halfway through and realizing your color placement is off.
If you want to make a matching set, try making a few flowers in the same petal color but swap out the center bead each time. It ties the set together while still giving each one its own personality.
Color Ideas for Your Pony Bead Flower
Color is everything with this pattern. Here are some combos to get you inspired:
Classic Daisy – White petals with a bright yellow center. Simple, clean, and always adorable.
Sunflower – Yellow petals with a dark brown or black center for a bold sunflower look that pops on any bag.
Cherry Blossom – Soft pink or blush petals with a pale yellow center. Beautiful for spring and a great Mother’s Day gift.
Wildflower – Mix and match petal colors (purple, orange, pink, and red) for a wildflower garden vibe that’s totally playful.

Retro Flower Power – Bold, contrasting colors like hot pink petals with a lime green center. Very groovy, very fun.
Lavender Field – Soft purple petals with a white or pale yellow center. Calming, pretty, and perfect for a boho bag charm.
Rainbow Flower – Each petal in a different color of the rainbow with a white center. Great for Pride month or anyone who just loves every color equally.
Once you get the basic pattern down, you’ll find yourself making these in every color combination you can think of.
Supplies You’ll Need

Gather these supplies before you get started on your pony bead flower:
- Pony Beads
- Pony Bead Lacing (Here’s an explanation of why pony bead lacing is the best for making bead buddies.)
- Scissors
- Measuring Device
- Key ring or lobster clasp
How to Make a Pony Bead Flower
Let’s get started making your flower beady buddy.
Step 1: Prepare Your Lacing
Begin by measuring 40 inches of pony bead lacing. Cut it to length with craft scissors.

Then fold the lacing in half and pull it through the key ring or lobster clasp. This is called a lark’s head knot.

Step 2: Lay Out Your Pattern
Next, use the photo below to lay out your pattern in beads on a flat surface. This helps you see how your colors will look in the finished flower.
Step 3: String the Beads
To string the beads, add the top row onto the left lacing.

Then thread the right lacing up through the beads.

Next, pull the lacings in opposite directions until you have a horizontal row of beads resting just under the key ring or lobster clasp.

Step 4: Add More Rows
Move through your pattern from top to bottom to continue adding rows using the guidance in Step 3.

Repeat the process until you reach the leaves.

Step 5: Add the Leaves
To add the left leaf, string all four beads onto the left lacing.

Then thread the left lacing back through the first bead of the leaf.

Repeat this step to add the right leaf onto the right lacing.

Step 6: Make the Stem
To add the stem, go back to adding rows as you did in Step 3. (String onto left lacing, thread right lacing up through bead, and pull.)

Repeat that until all your beads are strung.

Step 7: Secure the Lacing
There are two ways you can secure the lacing. Either tie the lacings together, or loop each lacing through the row above and tie it in a single knot.

Step 8: Trim Excess Lacing
Use craft scissors to trim any excess lacing away from your flower.

You made a pony bead flower!
More Pony Bead Patterns You’ll Love
If you loved making this pony bead flower, here are some other fun patterns to try next: