
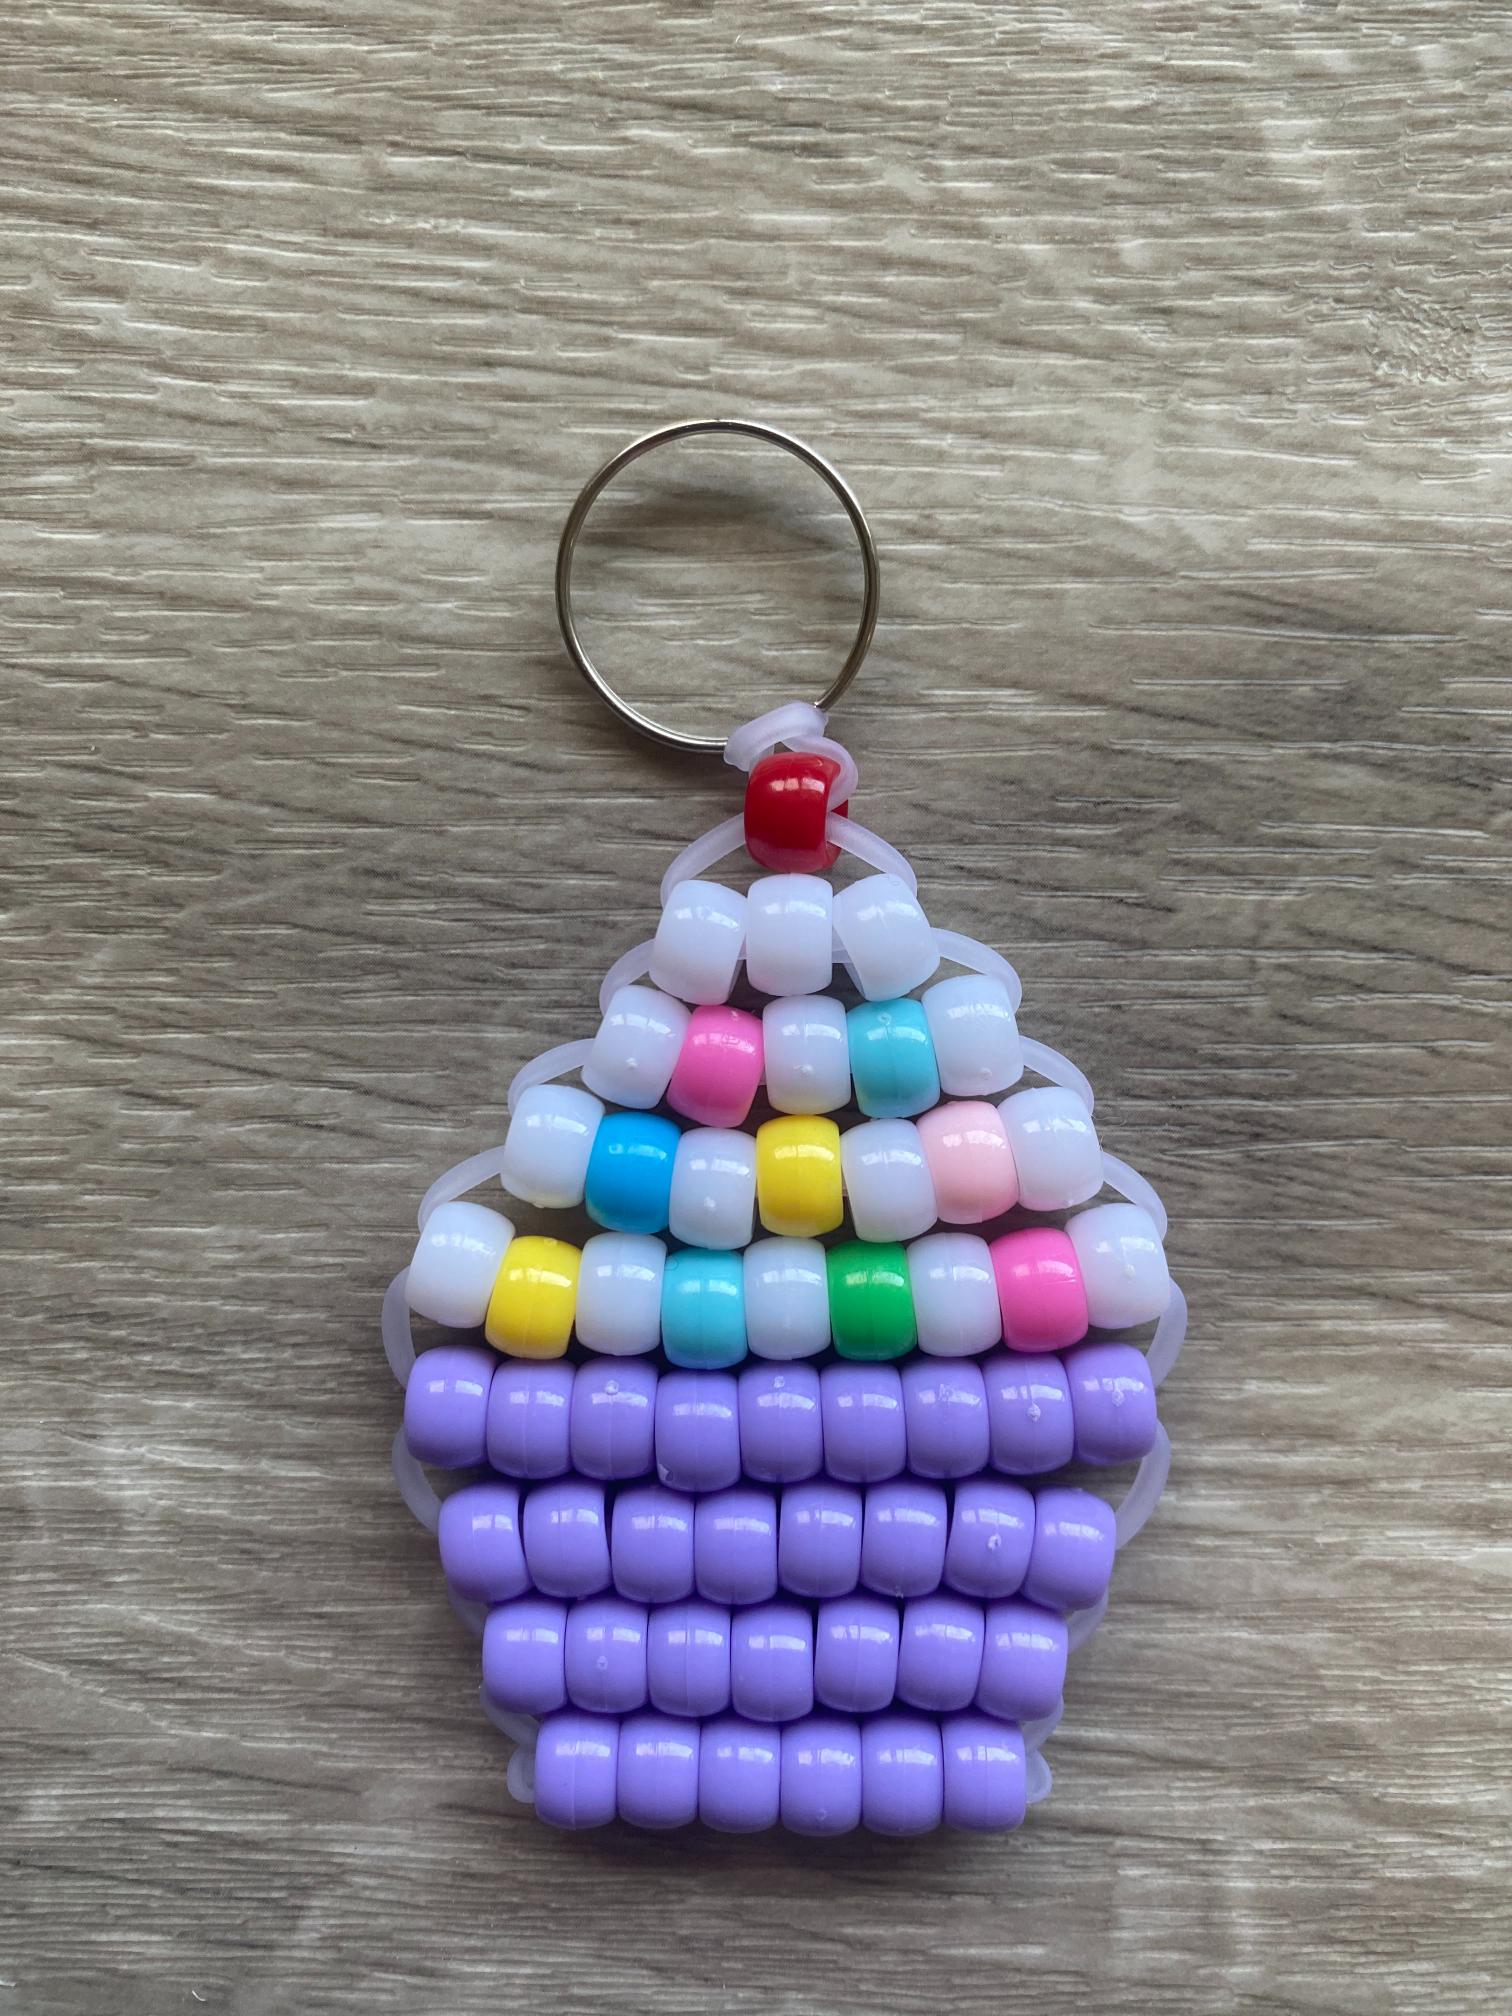
If you’re looking for a pony bead pattern that’s as fun to make as it is to show off, this cupcake pony bead keychain is going to be your new favorite project. It’s cute, it’s colorful, and it comes together faster than you’d think with no baking required.
This is one of those designs that works for just about any occasion. Make one for a birthday party favor, a back-to-school bag charm, or just because you deserve a little something sweet dangling from your keys. The frosting and sprinkle details are what really make this one pop, and the best part is that you can customize every single element to match your style (or the birthday person’s favorite colors).
Why You’ll Love This Cupcake Bead Buddy Pattern
Food-themed pony bead patterns are some of the most fun in the whole bead buddy world, and the cupcake is right at the top of the list. The design has two distinct sections, the cupcake base and the frosting, which gives you a built-in opportunity to play with contrasting colors and make each one totally unique.

Color Ideas for Your Cupcake Pony Bead Keychain
This is where the fun really starts. Here are some sweet color combos to inspire your cupcake:
Classic Birthday Cupcake – Yellow or white base with pink frosting and multicolor sprinkle beads on top. Can’t go wrong with this one.
Chocolate Dream – Brown base with chocolate brown or cream frosting. Add a red bead for a cherry on top for extra cuteness.
Strawberry Shortcake – Pink base with white or light pink frosting and red accent beads for strawberry vibes.
Unicorn Cupcake – White base with pastel rainbow frosting in lavender, mint, and baby pink. Add a gold or yellow bead at the top as the horn.
Halloween Cupcake – Orange or black base with purple or orange frosting and black sprinkle accents. A perfect October craft!
Christmas Cupcake – Red base with white frosting and green and red sprinkle beads. Great for holiday craft swaps and teacher gifts.
Galaxy Cupcake – Deep purple or navy base with dark blue, teal, and silver frosting for a cosmic look that’s totally unexpected and gorgeous.
Don’t stress about picking just one – once you learn the pattern, you’ll want to make a whole bakery’s worth in different colorways.
Tips for the Best Results
A few things that’ll make this project go smoothly:
Lay out your bead colors in order before you start stringing. The cupcake has two distinct color zones, the base and the frosting, so having your colors organized ahead of time makes it much easier to follow the pattern without losing your place.
Pull your lacing snug after each row but keep the tension consistent throughout. Uneven tension is the most common reason a finished charm looks lumpy instead of clean and flat.
If you want to add a sprinkle effect to the frosting section, try mixing a few contrasting colored beads into those rows rather than using a solid color. It gives the finished charm a lot more personality without adding any extra steps.
Supplies You’ll Need
Gather these supplies before you get started making your cupcake pony bead keychain:
- Pony Beads
- Pony Bead Lacing (Here’s an explanation of why pony bead lacing is the best for making bead buddies.)
- Scissors
- Measuring Device
- Key ring or lobster clasp

How to Make a Cupcake Pony Bead Keychain
Step 1: Prepare Your Lacing
Begin by measuring a length of 115 centimeters of pony bead lacing. Cut it to size with craft scissors.

Next, fold the lacing in half and pull it through the key ring or lobster clasp. This will form two equal lengths of lacing, a right and a left.

Step 2: Lay Out Your Pattern
Use a flat surface to lay out your pattern in pony beads. Use the photo below as a guide to test different colors until you get the layout design you prefer.

Step 3: String the Beads
Begin by stringing the top bead onto the left lacing.

Then thread the right lacing up through the bead.

Now pull the lacings in opposite directions until the bead sits just under the key ring/lobster clasp.

Step 4: Add More Rows
Now that you have the basic method down from Step 3, continue adding rows by moving through the pattern from top to bottom. Go ahead and string the next row of beads onto the left lacing.

Thread the right lacing up through the beads and pull in opposite directions until the row sits just under the first bead.

Repeat that process to continue adding rows.

You should have a fully formed cupcake once all the rows are strung.

Step 5: Secure the Lacing
To tie off the lacing, loop each one through the row above and tie it in a single knot.

Step 6: Trim Excess Lacing
Use craft scissors to trim any excess lacing near each knot.

You made a cupcake pony bead keychain!

More Pony Bead Tutorials You’ll Love
If this cupcake has you in a crafting mood, here are some more bead buddy tutorials to try next: