
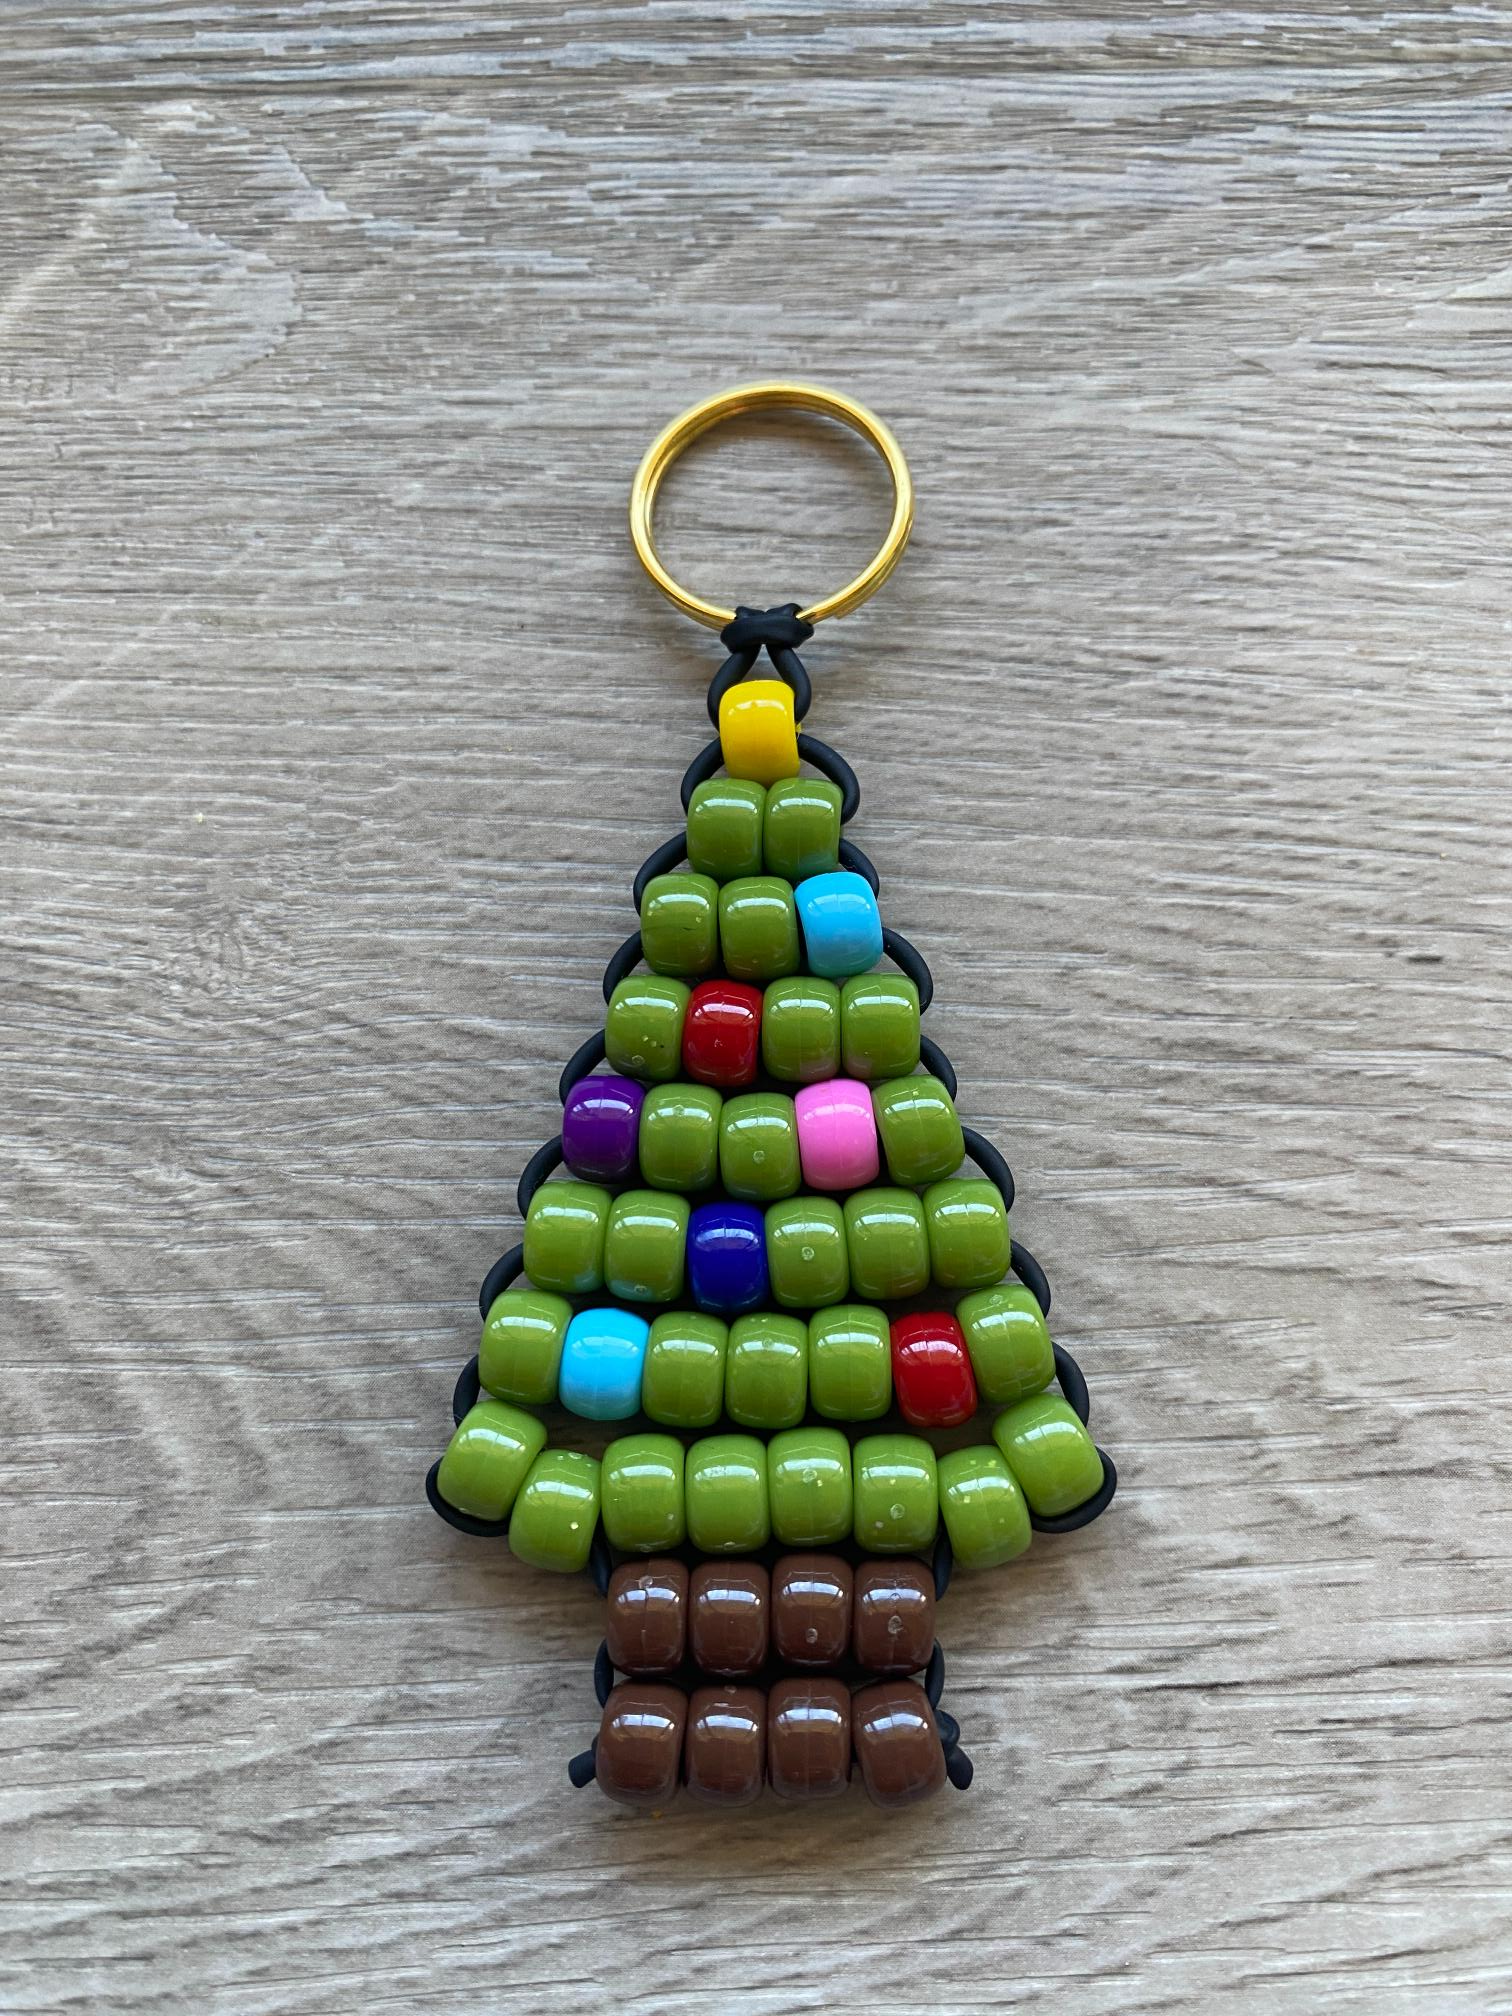
If you’ve been hanging pony bead charms on your bag all year, why not bring that same energy to your Christmas tree? This pony bead Christmas tree charm is the perfect holiday crossover. It’s small enough to dangle from a zipper pull or keychain, but totally cute hanging as a mini ornament too.
The best part? You only need about 28 beads and a few minutes to pull this off.
Perfect For…
- Bag charms and keychains
- Ornament exchanges and handmade gifts
- Classroom holiday craft projects
- Stocking stuffers (make a bunch and bag them up!)
- Tree decorating with the kids
Whether you’re adding to your charm collection or making a little handmade gift for someone, this pony bead Christmas tree is a quick, satisfying make.
Supplies to Make a Pony Bead Christmas Tree

- Pony beads
- Pony Bead Lacing
- Scissors
- Ruler
- Keyring or lobster clasp (optional, for attaching to a bag or keychain)
How to Make Your Pony Bead Christmas Tree
Step 1: Prepare Your Lacing
Cut about 100cm of lacing.

Fold the lacing in half and pull it through the key ring.

Step 2: Lay Out Your Pattern
Use the photo below to lay out your pattern in pony beads. Feel free to get creative with different colors.

Step 3: Build the Tree Row by Row
Begin by stringing the top bead onto the left lacing.

Now thread the right lacing up through the bead.

Then pull the lacings in opposite directions until taut. Don’t pull too tight. You want the rows snug, but over-tightening causes the tree to buckle in the middle. If that happens, gently pull on the sides to reshape.

This is the basic step for how to add a row of beads. Repeat it to add the second row.

Continue working through the pattern by adding rows from top to bottom.

Step 4: Add the Trunk
Once all the green beads and ornaments have been added to your pony bead Christmas tree, it’s time to add the trunk.

Loop each lacing around and back through the second bead on either side.

Next, add the remaining rows as you did before.

Step 5: Tie It Off
Almost there! Loop each lacing through the row above, and tie it in a single knot to secure.

Step 6: Trim the Lacing
Now all you have to do is trim any excess lacing with craft scissors.

You made a pony bead Christmas tree!
Customize Your Pony Bead Christmas Tree
Once you’ve got the basic shape down, there’s so much room to play:
- Snowy tree: Swap some green beads for white or light blue for a frosted look
- Colorful tree: Use rainbow beads instead of green for a retro, kitschy vibe
- Monochrome glam: All silver or gold beads with a star topper = instant elegance
- Mini garland: Make 5–6 trees and string them together on a longer piece of cord
More Easy Pony Bead Crafts
If you enjoyed this tutorial, here are a few more to try next: