
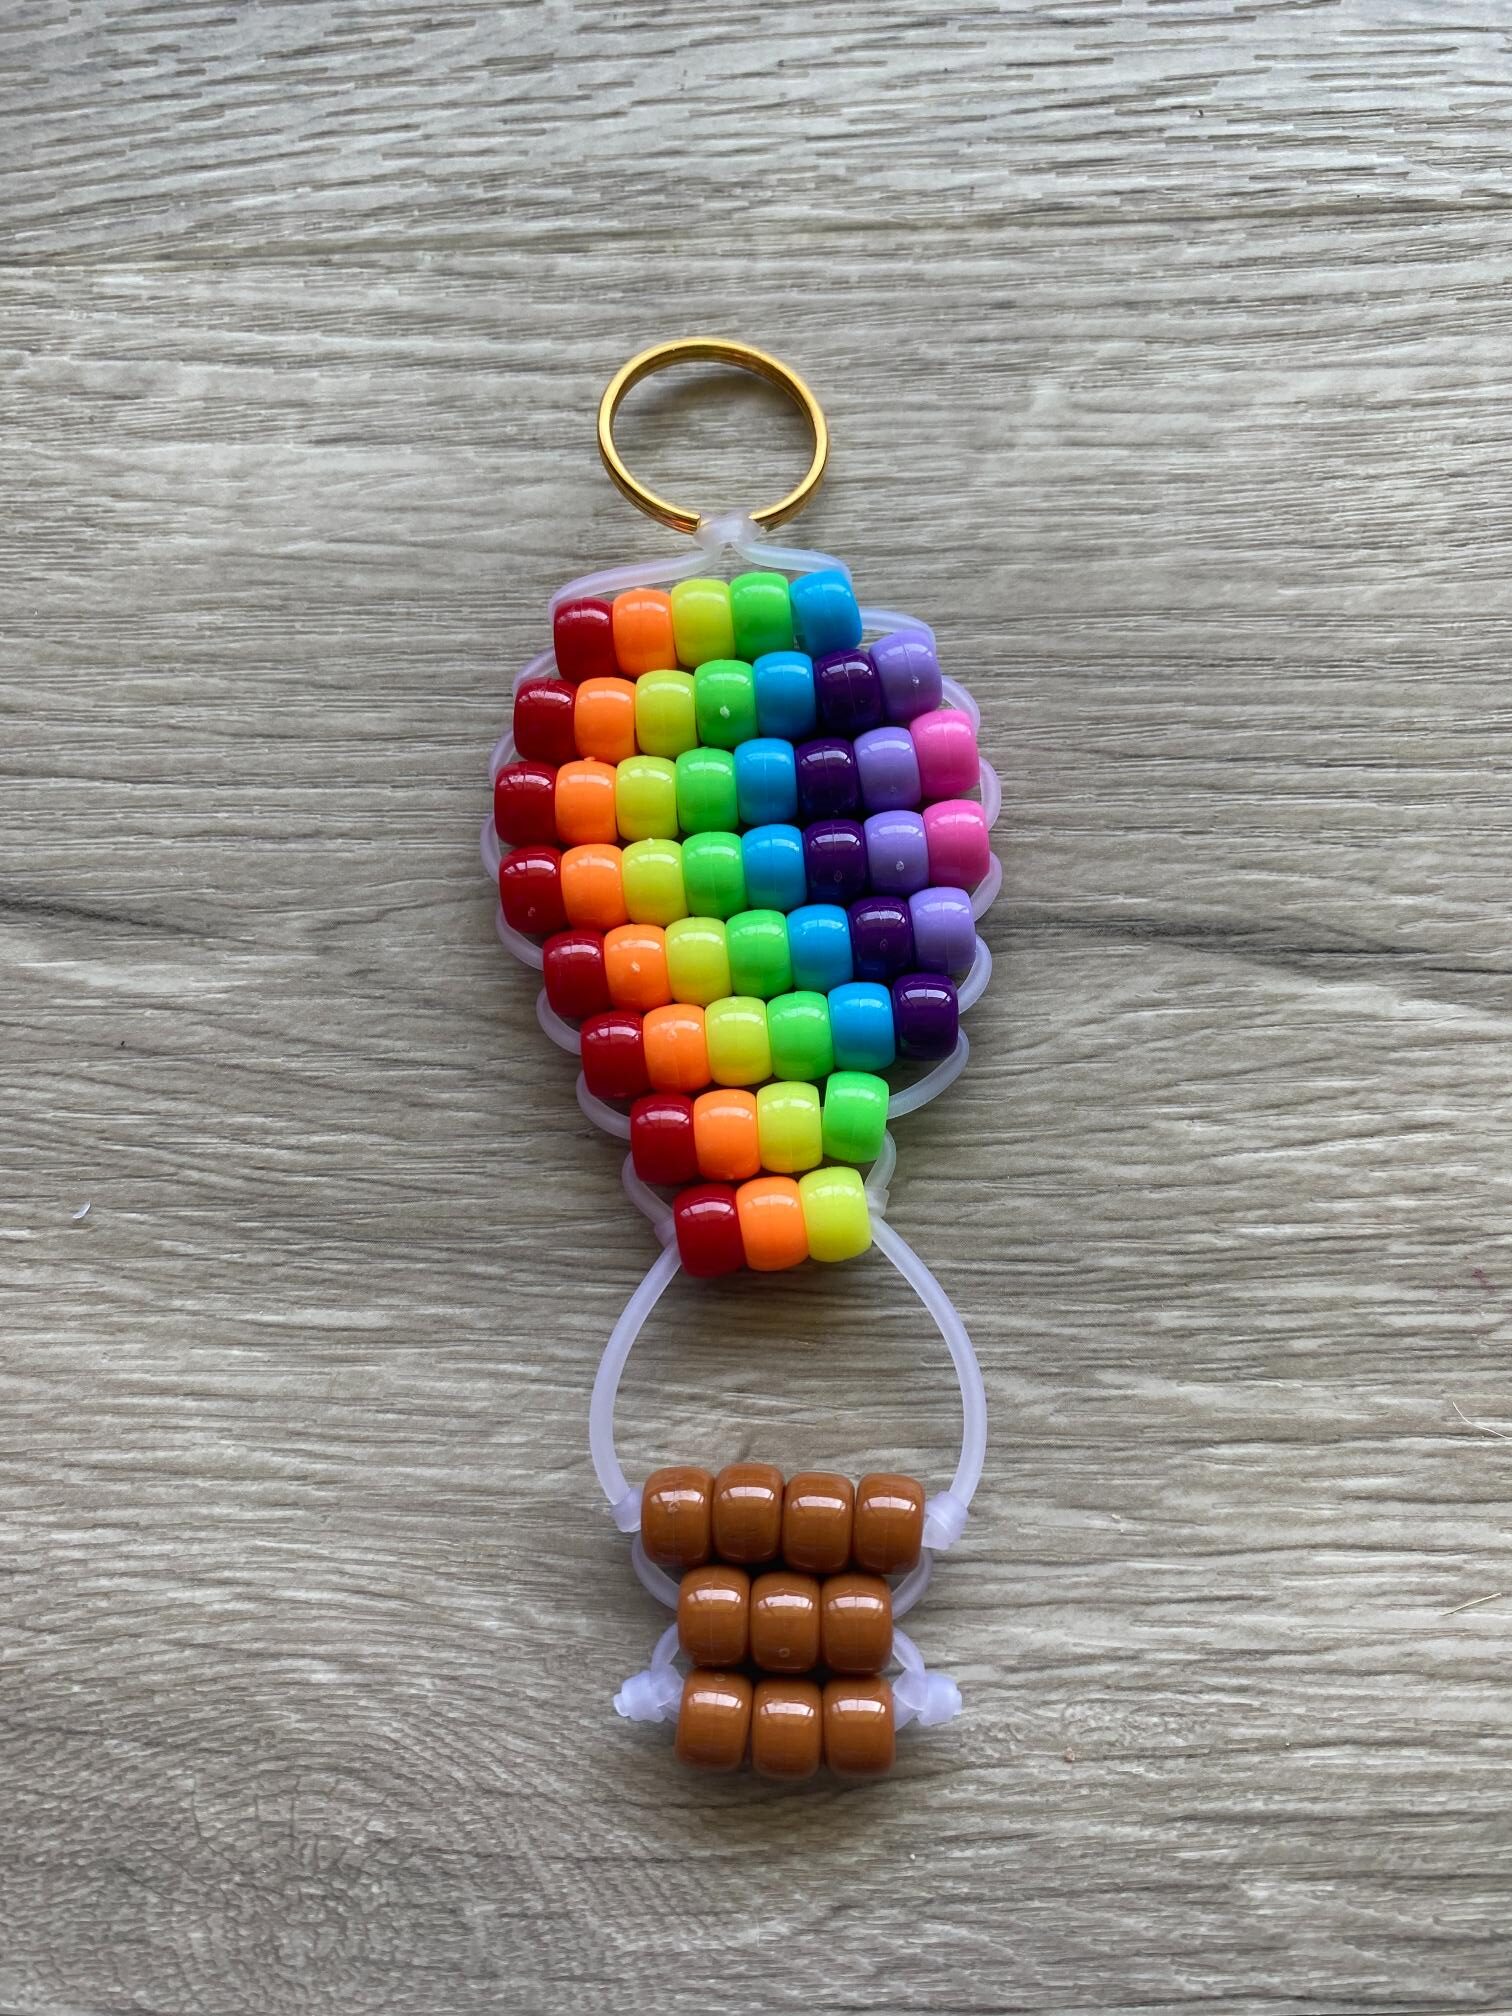
The pony bead hot air balloon takes the popular striped, colorful look and shrinks it down into a bag charm you can clip onto pretty much anything. It’s a design that photographs beautifully, works in almost any color combo, and has that little “wow, you made that?” factor when people spot it.
Color Scheme Ideas
The balloon is basically a blank canvas for stripes, so have fun with it:
- Rainbow Balloon – a full spectrum of colors for the classic, festival-ready look
- Sunset Balloon – orange, pink, and yellow gradient stripes for a warm, glowing effect
- Pastel Sky – soft lavender, mint, and baby blue for a dreamy, whimsical version
- Patriotic Balloon – red, white, and blue stripes for summer holidays and cookouts
- Ocean Balloon – shades of blue and teal paired with a tan basket
- Monochrome Balloon – different shades of a single color for a sleek, modern take
Supplies You’ll Need

Here’s everything you’ll need to create the pony bead hot air balloon. These are the exact supplies used in this project. Grab them below:
How to Make a Pony Bead Hot Air Balloon
Step 1: Prepare Your Lacing
Start by measuring 135 centimeters of pony bead lacing. Cut it to length with craft scissors.

Then fold the lacing in half and pull it through the key ring or lobster clasp.

This will create two equal lengths of lacing, a left and a right.
Step 2: Lay Out Your Pattern
Working on a flat surface, use the photo below as a guide to lay out your pattern in pony beads. Get creative with colors until you are pleased with your hot air balloon design.

Step 3: String the Beads
Begin by stringing the top row of beads onto the left lacing.

Now thread the right lacing up through the beads.

Then pull the lacings in opposite directions until the beads form a horizontal row just under the knot.

Repeat this step to add the second row.

Step 4: Add More Rows
Continue repeating Step 3 to add rows from top to bottom of your pattern.

Add rows until all the beads of the balloon are strung.

Step 5: Secure the Beads
Loop each lacing through the row above. Then tie a single knot on each side to secure the beads in place.

Roughly 2-3 centimeters below the balloon, tie another knot in each lacing.

Step 6: Create the Basket
Now you are ready to form the basket. Start by stringing the top row of the basket onto the left lacing.

Thread the right lacing up through the beads and pull taut, just as you did for the rows of the balloon.

Continue adding rows until all the beads in your pattern are strung.

Step 7: Tie Off the Lacing
Once again loop each lacing through the row above and tie them in single knots on either side.

Step 8: Trim Excess Lacing
Use craft scissors to cut off any excess lacing near each knot.

You made a pony bead hot air balloon!

More Pony Bead Patterns You’ll Love
If you had fun with this one, check out these other pony bead tutorials on the blog: