
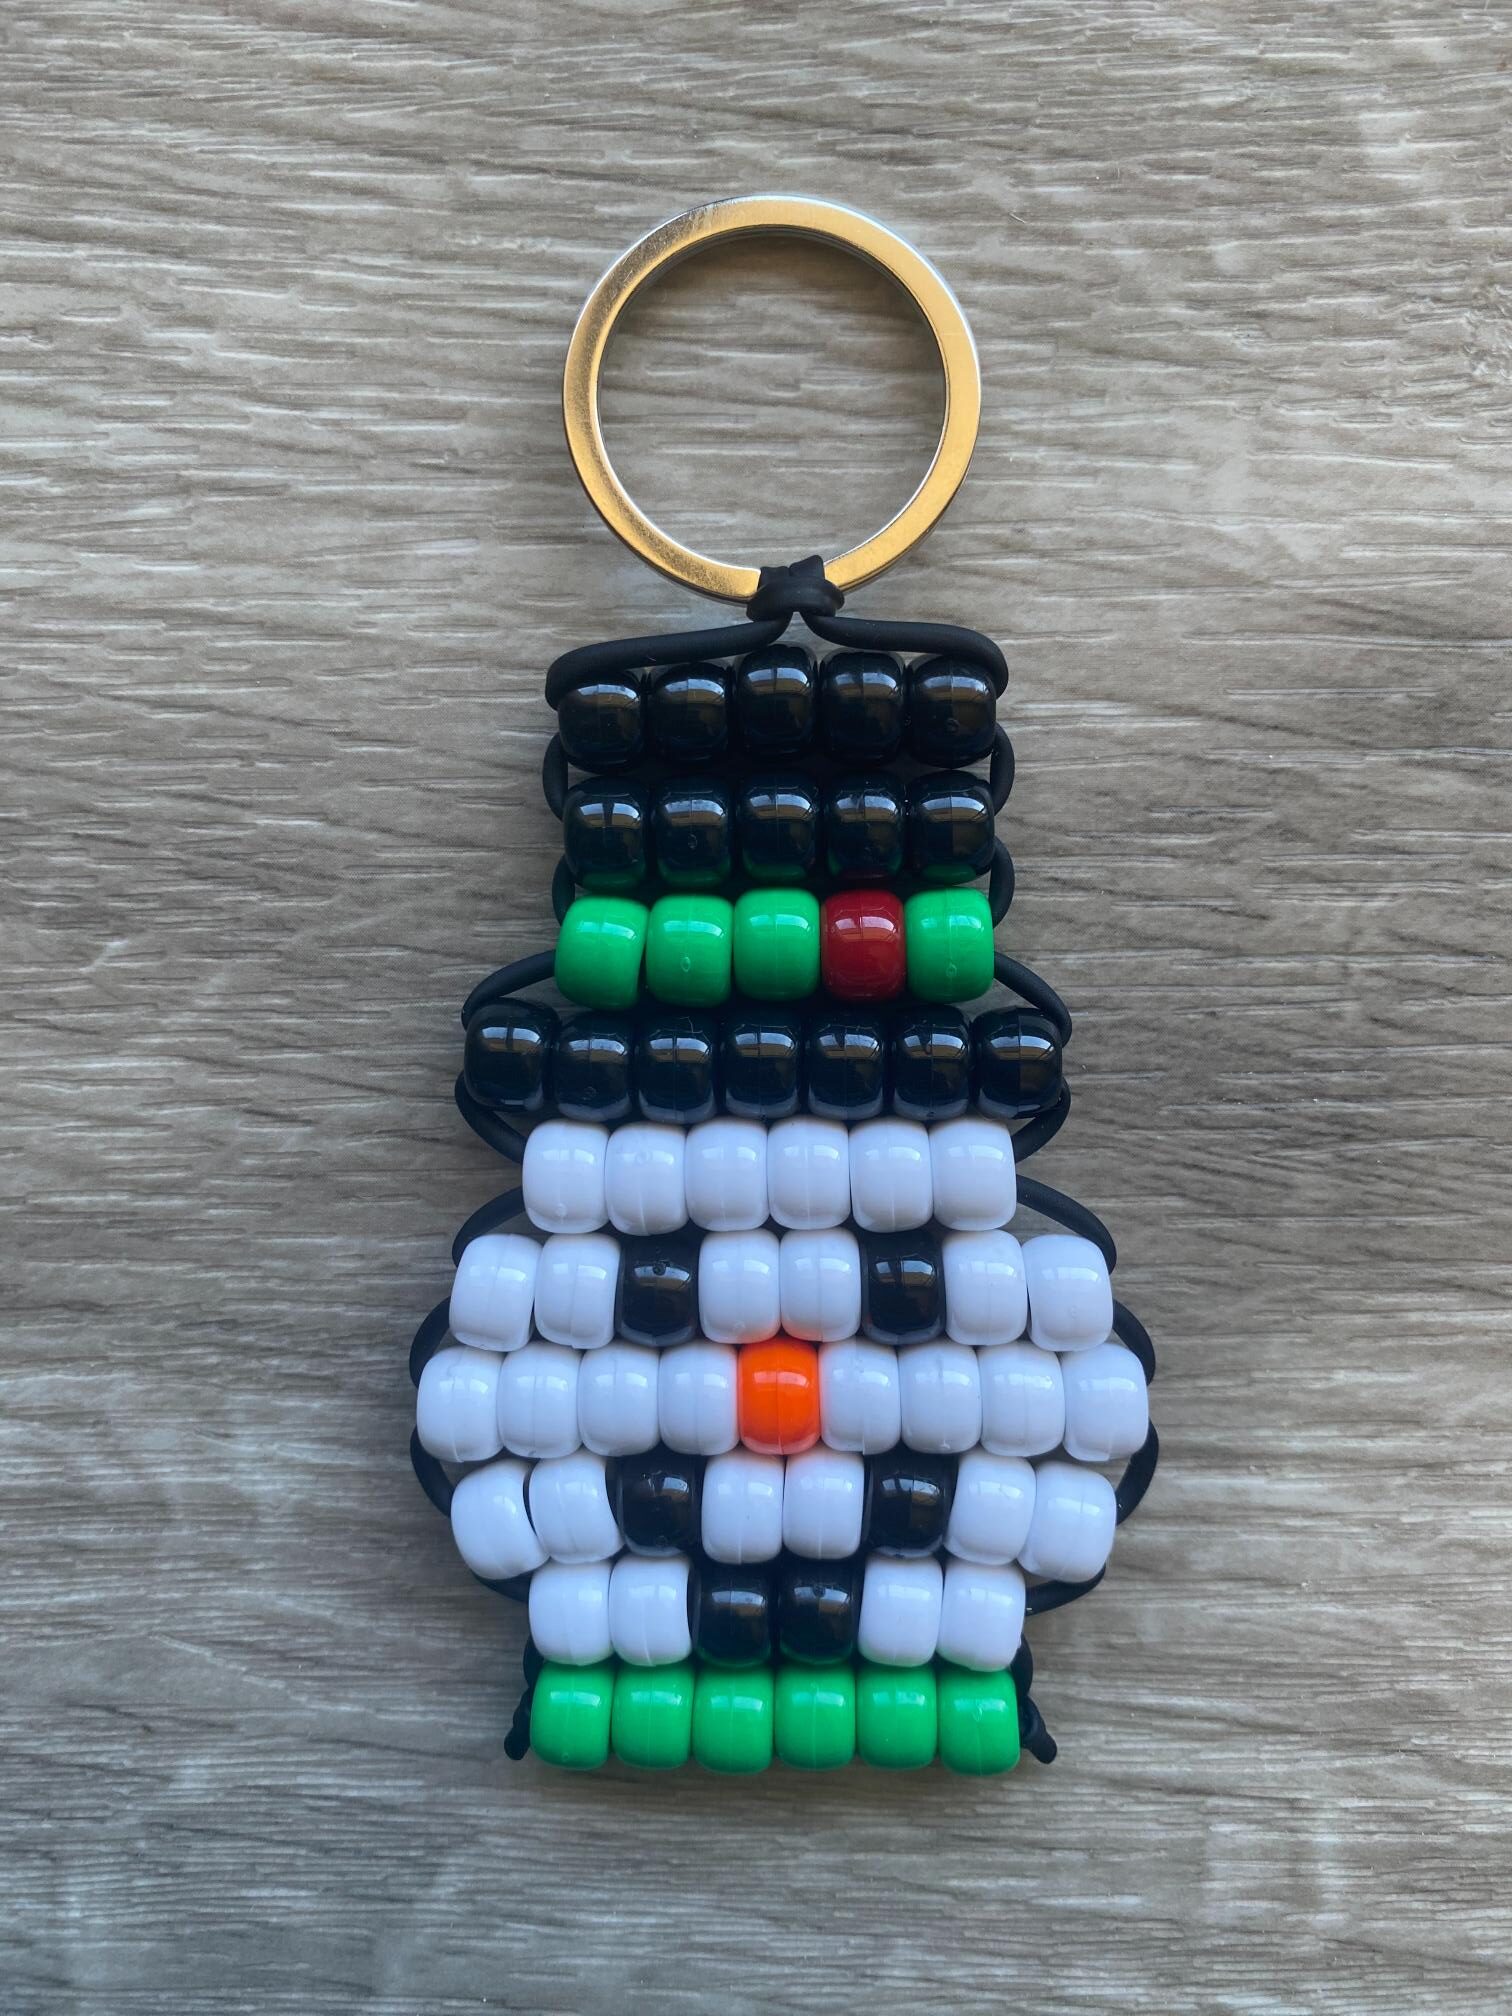
There’s nothing like a pony bead snowman to get you in the mood for cozy sweaters, hot cocoa, and the first snowfall of the season. This little guy has all the classic snowman charm packed into one small design: a round white face, a bright carrot nose, and a couple of little coal button eyes that give it so much personality.
It’s a fast, satisfying project to work up during a movie marathon or a craft night, and it’s endlessly customizable. Swap the colors, add a scarf, or go sparkly for a charm that feels totally your own. (Quick note: this pattern covers the snowman’s head rather than a full head-to-boots design, so it comes together especially fast.)
Pattern Notes
- Skill level: Beginner-friendly
- Best for: Bag charms, keychains, zipper pulls, or a quick ornament for the tree
- Time: One of the faster winter patterns on the blog
Color Scheme Ideas
The classic snowman look never goes out of style, but here are a few twists to try:
- Classic Snowman – white face, orange carrot nose, black coal eyes and mouth
- Frosty Blue – swap the white base for pale blue for an icy, frosted look
- Holiday Snowman – add a red or green scarf detail across the bottom of the design
- Sparkle Snowman – use white glitter beads for a face that catches the light like real snow
- Nighttime Snowman – dark navy snowman
- Rainbow Snowman – keep the face classic but have fun with non-traditional colors for the accessories

Supplies You’ll Need
Here’s everything you’ll want to have on hand before you get started. These are the exact supplies used in this project. Grab them below:

How to Make a Pony Bead Snowman
Step 1: Prepare Your Lacing
Begin by measuring 90 centimeters of pony bead lacing. Cut it to length with craft scissors.

Next, fold the lacing in half. Then pull it through your key ring, lobster clasp or ornament hook.

This will form a lock’s head knot with two equal sized lacings, a left and a right.
Step 2: Lay Out the Pattern
Use the photo below as a guide to lay out your pattern in pony beads on a flat surface. Feel free to get creative with different colors.

Step 3: String the Beads
Start by stringing the top row of beads onto the left lacing.

Then thread the right lacing up through the beads.

Now pull the lacings in opposite directions until the beads form a horizontal row just under the knot.

Step 4: Add More Rows
Repeat Step 3 to add the second row of beads.

Continue adding rows by working through the pattern from top to bottom.

Add row after row until all the rows of beads are strung.

Step 5: Secure the Lacing
To secure the lacings, loop each one through the row above and tie it in a single knot.

Step 6: Trim Excess Lacing
Use craft scissors to trim any excess lacing near each knot.

You made a pony bead snowman!
More Pony Bead Patterns You’ll Love
If you had fun with this one, check out these other pony bead tutorials on the blog: