
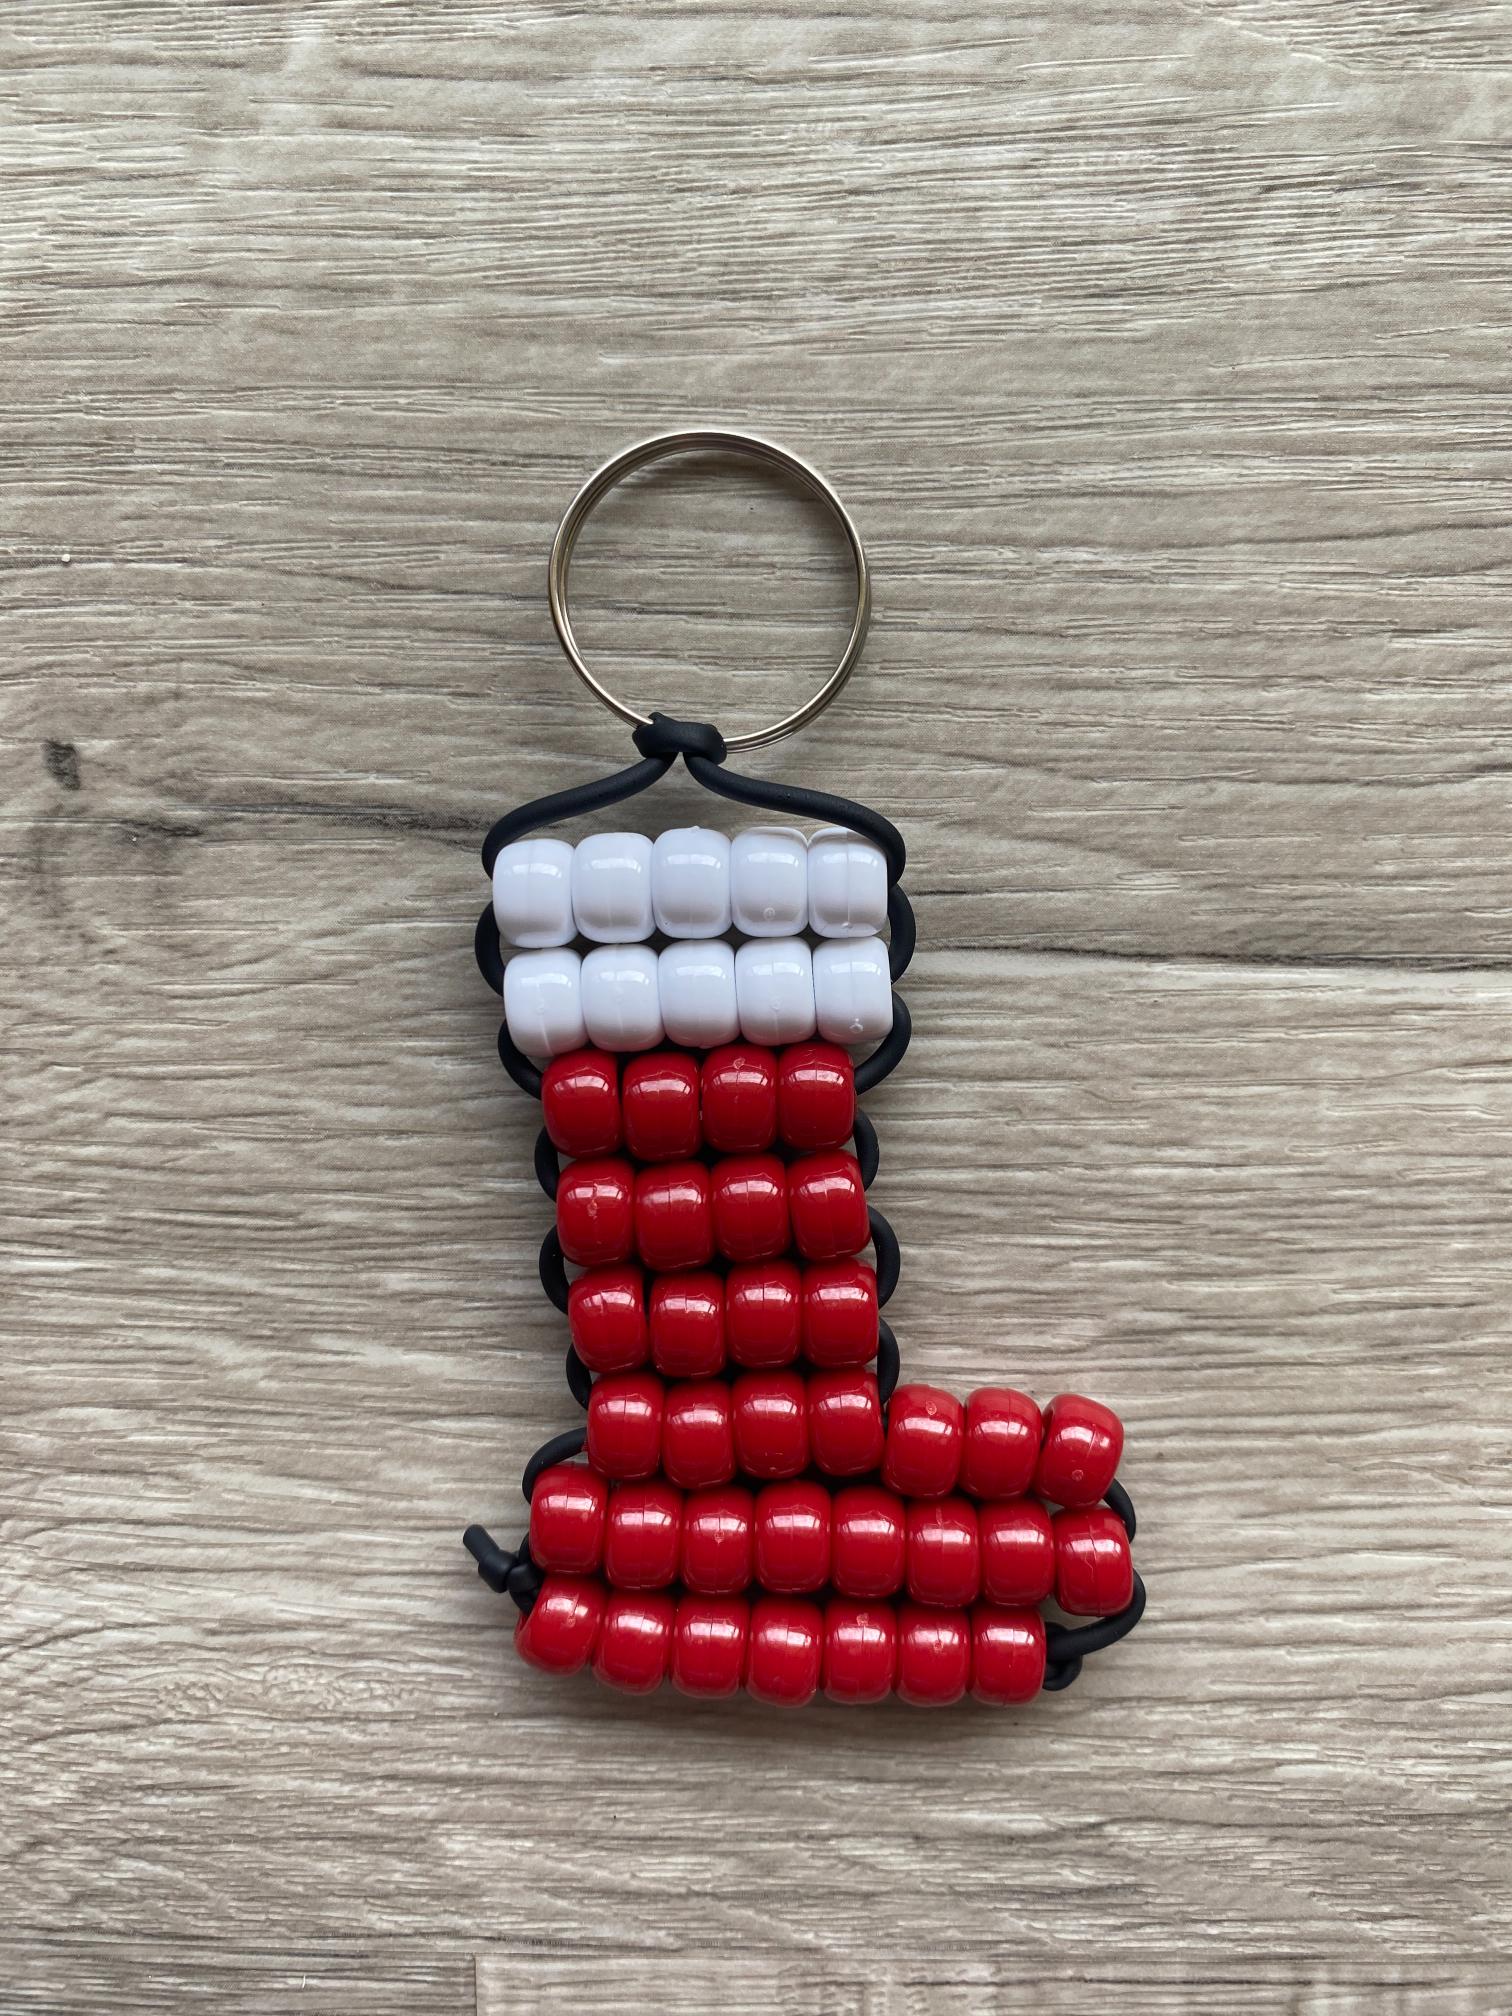
This pony bead Christmas stocking is one of the most festive (and easiest) patterns you can add to your holiday craft lineup this year. Whether you’re clipping it onto a gift bag, turning it into a mini tree ornament, or adding it to a keychain for a teacher or coworker gift, this little stocking pattern works up fast and never goes out of style.
Pony bead holiday crafts are a staple in the kandi and bead-crafting community every December, and stockings are one of the most requested designs. They’re simple, instantly recognizable, and endlessly customizable with different colors and trims. This is a perfect project to make in batches during holiday movie marathons, craft nights, or classroom parties.
Why You’ll Love This Pattern
- Small and quick enough to make a whole batch in one sitting
- Works great as a tree ornament, bag charm, keychain, or gift tag
- Uses just a few colors, so it’s budget-friendly
- Easy to personalize with different color combos or a beaded “cuff” trim

Color Scheme Ideas
Part of what makes this pony bead Christmas stocking so fun is how easy it is to make it your own. Here are a few color combos to try:
- Classic Red & White – bright red body with a white cuff, just like the traditional felt stocking
- Candy Cane Stocking – alternating red and white stripes for a peppermint-inspired look
- Evergreen & Gold – deep green body with a gold or cream cuff for an elegant, woodland feel
- Winter Pastel – icy blue and white for a frosty, wintery vibe
- Personalized Initial – leave space at the top of the cuff to add a single letter bead for a name or initial
- Sparkle Stocking – swap in glitter or transparent beads for a stocking that catches the light on the tree
Supplies You’ll Need
Here’s everything you’ll want to have on hand before you get started. These are the exact supplies used in this project. Grab them below:

How to Make a Pony Bead Christmas Stocking
Step 1: Prepare the Lacing
Begin by measuring 100 centimeters of pony bead lacing. Cut the lacing to length with craft scissors.

Then fold the lacing in half and pull it through the key ring, lobster clasp or ornament hanger you are using.

Step 2: Lay Out the Pattern
Next, use the photo below as a reference to lay out your pattern in pony beads. This is a great time to get creative with different colors and designs.

Step 3: String the Beads
Start by stringing the top row of beads onto the left lacing.

Then thread the right lacing up through the beads.

Pull the lacings in opposite directions until a horizontal row of beads forms just under the knot.

Repeat this step to add the second row.

Continue working through your pattern from top to bottom to add three more rows.

Step 4: Form the Boot
For the next row, only add the four left beads to the left lacing. Then complete the ladder stitch by threading the right lacing up through the beads and pulling until taut.

Now string the remaining three beads of that row onto the right lacing, and string all beads for the next row onto the left lacing.

Next, thread the right lacing up through all the beads on the left lacing.

Pull the lacings taut to see the shape of the boot form.

Step 5: Add the Final Row
Add the last row of beads as you did before by stringing them on the left lacing, threading up with the right lacing and pulling taut.

Step 6: Secure the Lacing
Loop each lacing through the row above, and tie it in a single knot.

Step 7: Trim Excess Lacing
Trim off the excess lacing using craft scissors.

You made a pony bead Christmas stocking!
More Pony Bead Patterns You’ll Love
If you had fun with this one, check out these other pony bead tutorials on the blog: