
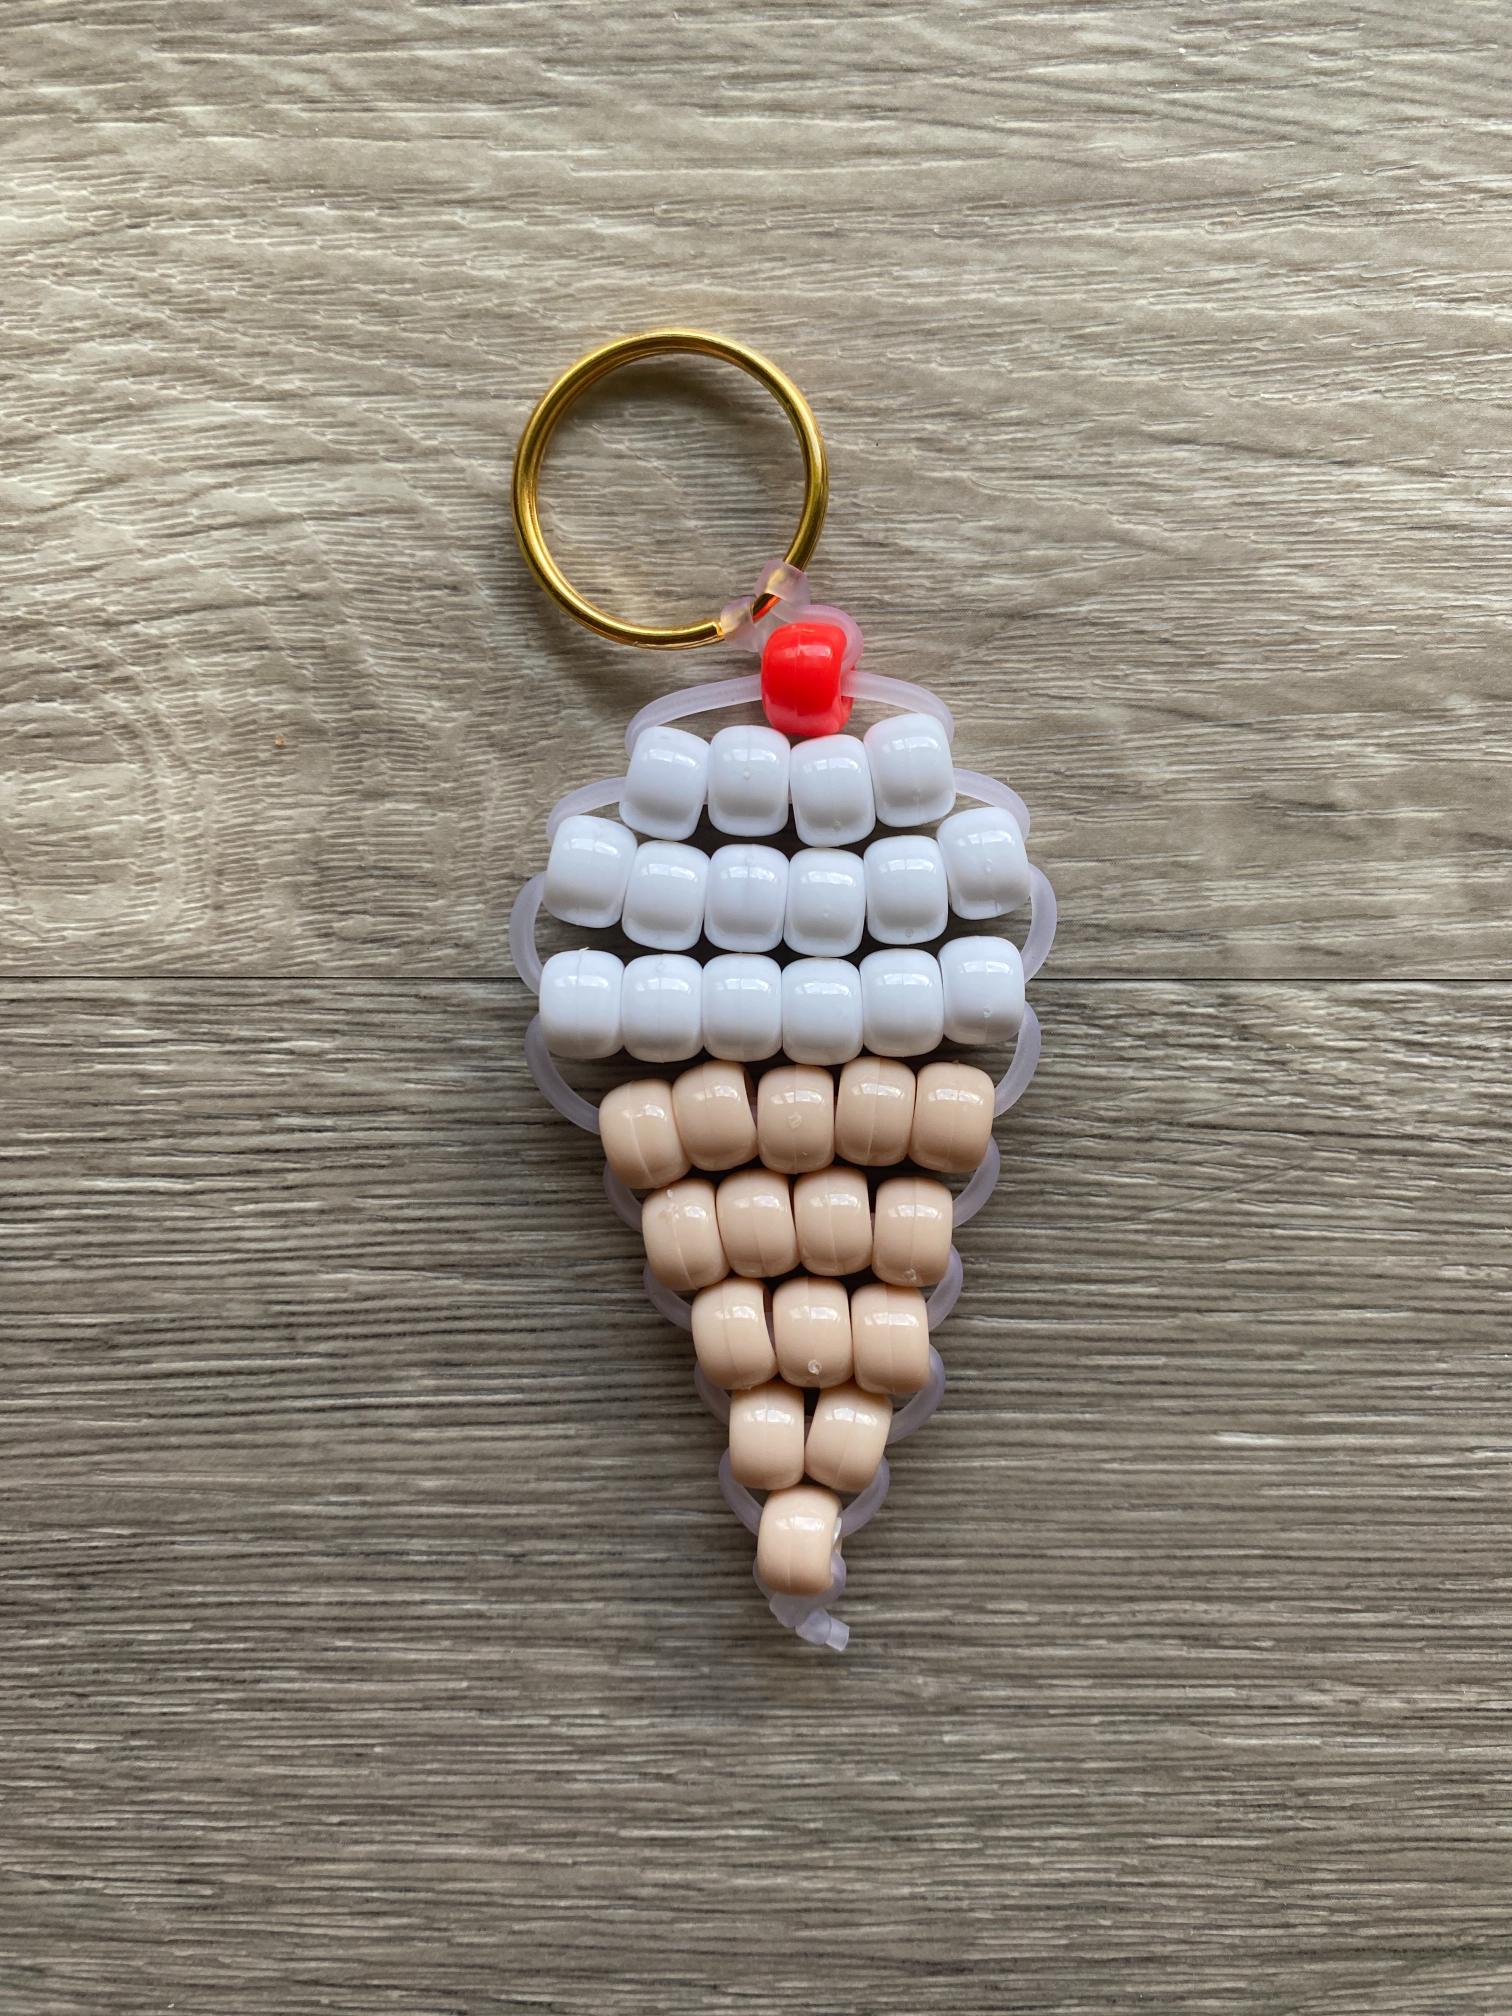
Nothing says summer quite like a scoop of ice cream, and this pony bead ice cream cone charm captures that feeling perfectly. It’s bright, it’s playful, and it comes together fast enough to make a whole batch in one sitting. Clip it to a beach bag, a backpack, or a set of keys, and you’ve got a little scoop of sunshine that never melts.
Choosing Your Flavor
Half the fun of this charm is picking a “flavor.” A few combos that look great in pony beads:
- Strawberry: pink scoop, white cone, tiny red beads scattered in for “seeds”
- Mint chip: light green scoop with a few scattered brown beads for chips
- Rainbow swirl: alternate 2–3 bright colors per row in the scoop for a soft-serve swirl look
- Classic vanilla: cream-colored scoop, tan cone, one red bead on top for a cherry
Pick your palette before you start so you’re not swapping bead bags mid-project.
Supplies You’ll Need

New to pony bead lacing? Here’s why it’s the go-to choice over regular string or elastic.
How to Make a Pony Bead Ice Cream Cone Charm
Step 1: Prepare the Lacing
Begin by measuring 50 inches of pony bead lacing.

Cut it to length with craft scissors.

Then fold the lacing in half and pull it through the key ring or lobster clasp to form a lark’s head knot.
Step 2: Lay Out the Pattern in Pony Beads
Next, use the photo below to lay out your pattern in pony beads. Use a flat surface, and feel free to get creative with your color scheme.

Step 3: String the Beads
You’ll form the ice cream shape by working through the pattern from top to bottom. Begin by stringing the top bead onto the left lacing.

Then thread the right lacing up through the bead.

Now pull the lacings in opposite directions until the bead lays horizontally just under the knot.

Step 4: Add More Rows
Follow Step 3 above to add the second row of beads – string onto left, thread up with right and pull taut.

Continue repeating that step to add the remaining rows of your pattern from top to bottom.

Step 5: Secure the Lacing
After the last bead is strung, tie the lacings together in a single knot.

Step 6: Trim Excess Lacing
Use craft scissors to trim any excess lacing close to the knot.

You made a pony bead ice cream cone charm!
Ways to Use It
Once your charm is finished, here are a few ways to put it to work:
- Clip it to a beach bag or pool tote for summer
- Turn it into a set with a matching popsicle or watermelon charm for an ice cream truck-themed keychain trio
- Make a few in different “flavors” for a sweet treat swap with friends
- Use it as an ornament for a summer-themed party or bulletin board
More Pony Bead Patterns to Make
If you enjoyed making this pony bead ice cream cone bag charm, here are a few more tutorials to try next:
- Watermelon Pony Bead Bag Charm: another sweet summer treat to add to your keychain lineup
- Pony Bead Flamingo Bag Charm: a fellow warm-weather favorite with the same beginner-friendly technique
- Pony Bead Fish Bag Charm: a simple shape that’s perfect if you want more practice before tackling trickier patterns
- 10 Pony Bead Patterns You Need to Make: for even more beginner-friendly designs to keep the bead binge going