
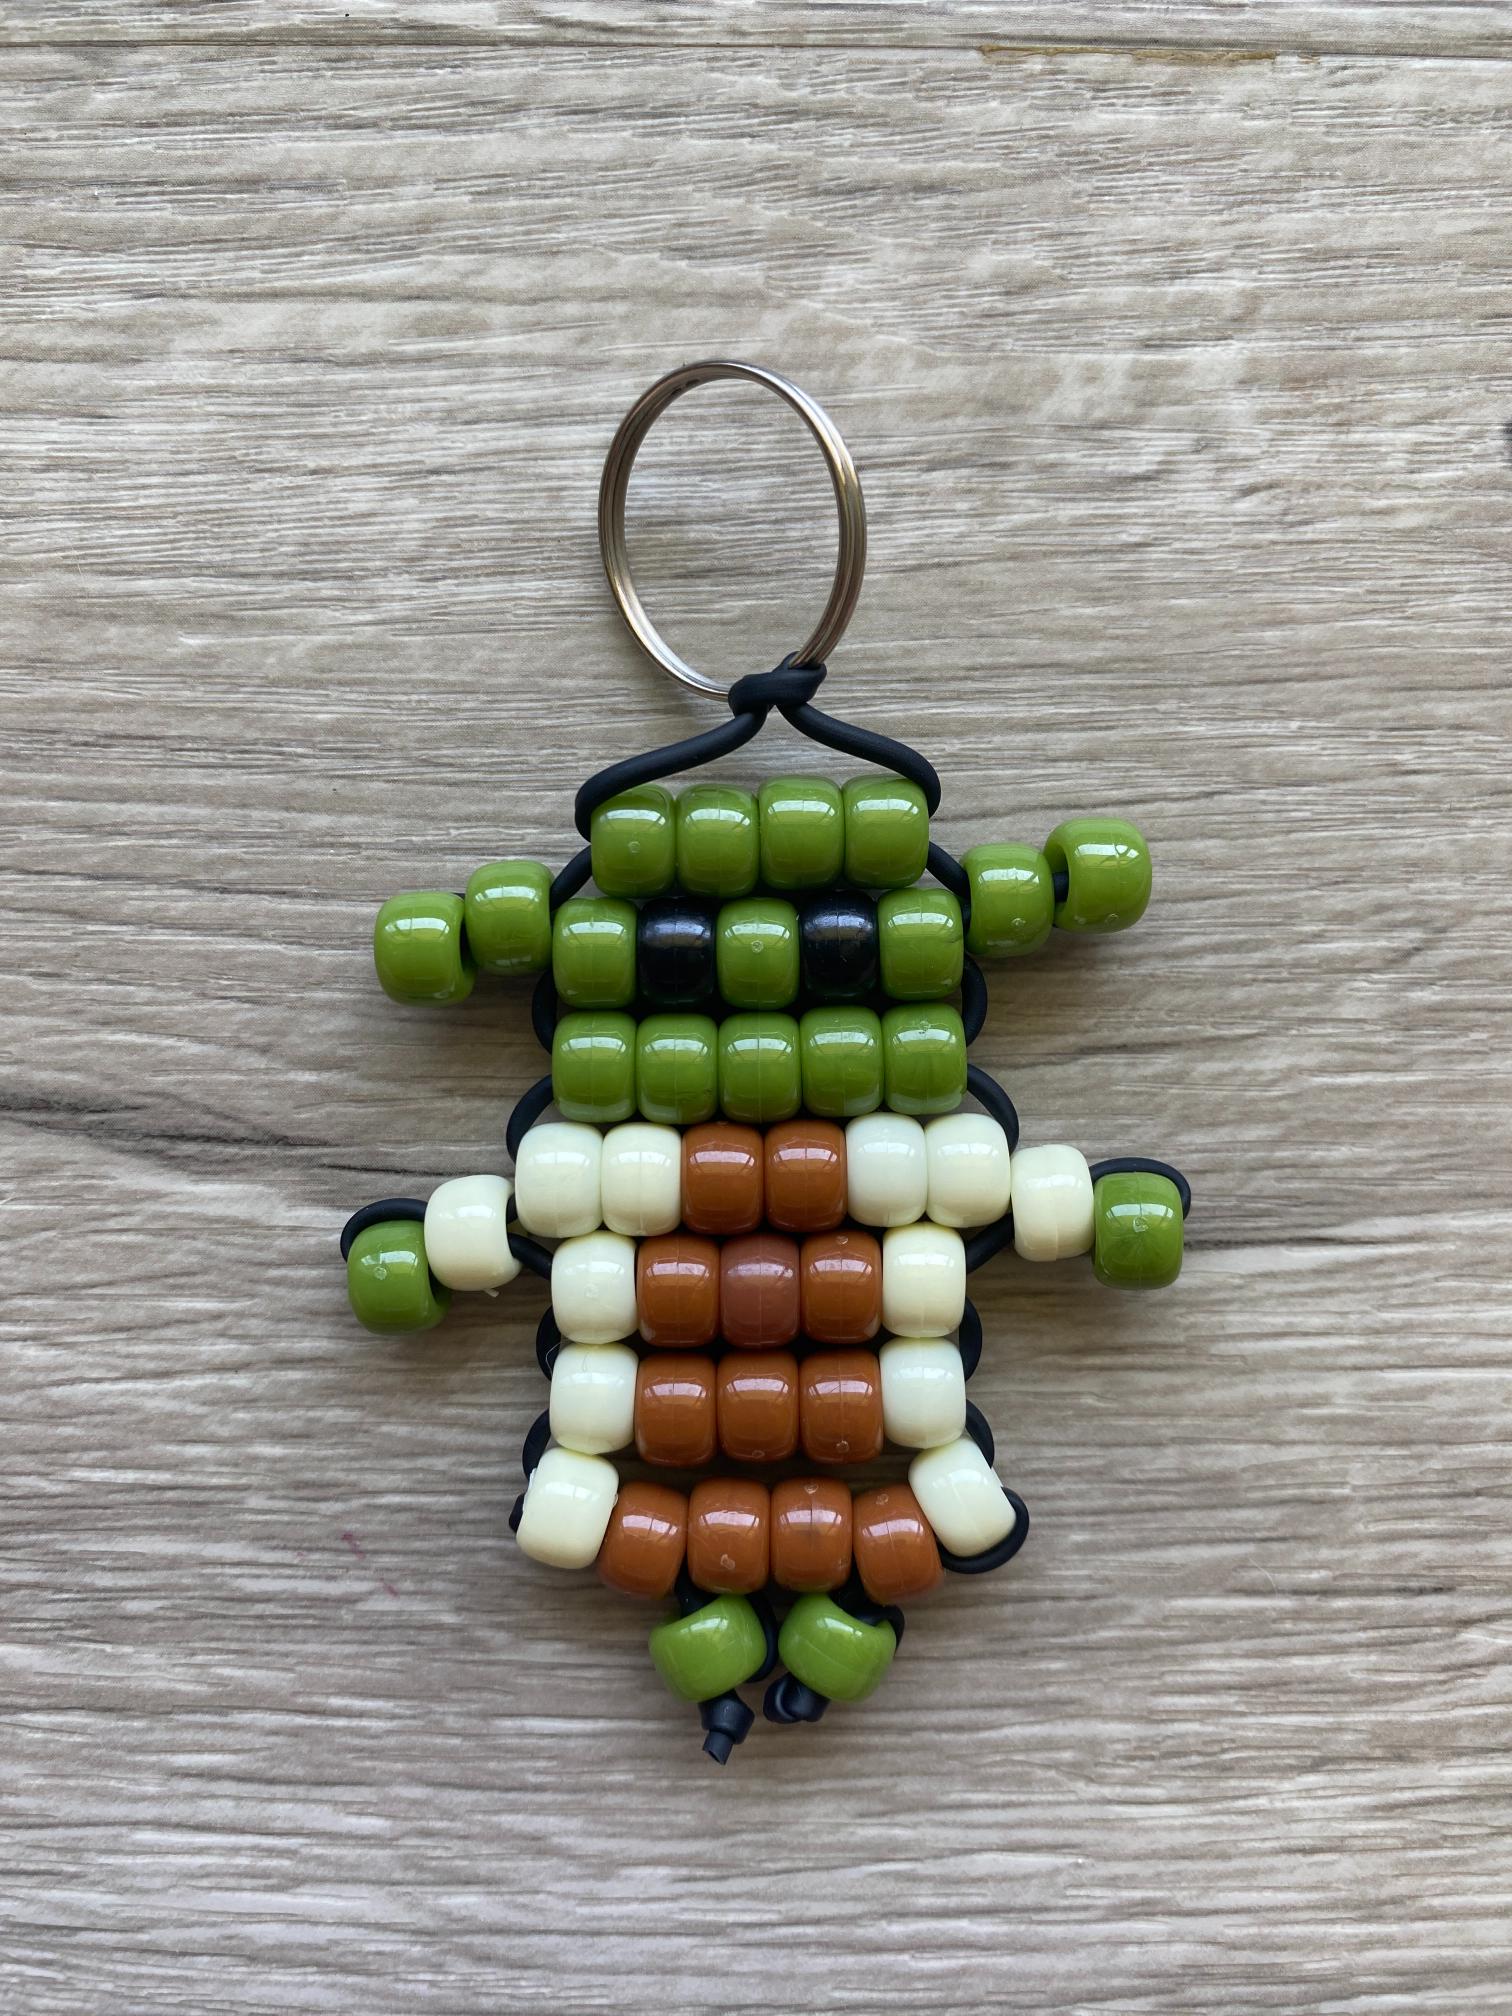
This pony bead swamp hermit bag charm the dark academia fans, the people who think moss is an aesthetic, and honestly anyone who just wants something a little different hanging from their bag.
The design is full of character: earthy tones, an ancient and knowing vibe, and that unmistakable air of someone who has chosen the swamp life and is absolutely thriving. It’s one of the more unique patterns in the bead buddy world, and that’s exactly what makes it so fun to make and even more fun to carry around.
Making the Beloved Character
The swamp hermit charm stands out in a sea of flowers and animals, not just because of the character itself, but because of how much the color choices matter here. You’re working with a palette that tells a story, and that makes the building process feel more intentional than your average bead buddy.
It’s also a genuinely great conversation starter. Clip this to your bag and someone will ask about it. They’re probably a fan too.
Supplies You’ll Need
- Pony Beads in earthy greens, browns, tans, and black
- Pony Bead Lacing
- Scissors
- Measuring Device
- Key ring or lobster clasp

New to pony bead lacing? Here’s why it’s the go-to choice over regular string or elastic.
How to Make a Pony Bead Swamp Hermit
Step 1: Prepare Your Lacing
Start by measuring 120 centimeters of pony bead lacing. Then cut it to length with craft scissors.

Fold the lacing in half and pull it through the key ring or lobster clasp.

Now you should have two equal lengths of lacing, a right and a left.
Step 2: Lay Out Your Pattern for the Pony Bead Swamp Hermit
Use the photo below to lay out your pattern in pony beads. Work on a flat surface, and feel free to experiment with different colors of beads.

Step 3: String the Beads
Begin by stringing the top row of the head onto the left lacing.

Then thread the right lacing up through the beads.

Pull the lacings in opposite directions until taut. The beads should form a horizontal row just under the key ring.

Step 4: Add the Ears
To add the left ear, string the two ear beads onto the left lacing.

Now loop the left lacing around back through the first bead only.

Repeat this step to add the right ear onto the right lacing.

Step 5: Create More Rows
Next, string the top row of beads from your pattern onto the left lacing.

Thread the right lacing up through beads. Then pull both lacings in opposite directions until a row forms just under the first one.

Repeat this step to string the next two rows.

Step 6: Add the Arms
To create the left arm, string the left arm beads onto the left lacing.

Then loop the left lacing around and back through the first bead only, just as you did for the ears.

Repeat this step to add the right arm to the right lacing.

Step 7: Form More Rows
Now string the next row of beads onto the left lacing.

Thread the right lacing up through the beads and again pull the lacings in opposite directions.
Continue moving through the pattern, adding rows from top to bottom, until all the rows are strung.

Step 8: Add the Feet
Next, loop each lacing around and through the second bead on each side of the bottom row.

String the left foot bead onto the left lacing.

Then loop the left lacing around and back through the foot.

Repeat this step to add the right foot to the right lacing.

Step 9: Secure the Lacing
Tie each lacing in a single knot to secure them and the beads.

Step 10: Trim Excess Lacing
Trim the excess lacing with craft scissors near each knot.

You made a pony bead swamp hermit!
More Pony Bead Characters and Charms to Try
If the swamp hermit is your vibe, these might be up your alley too: