
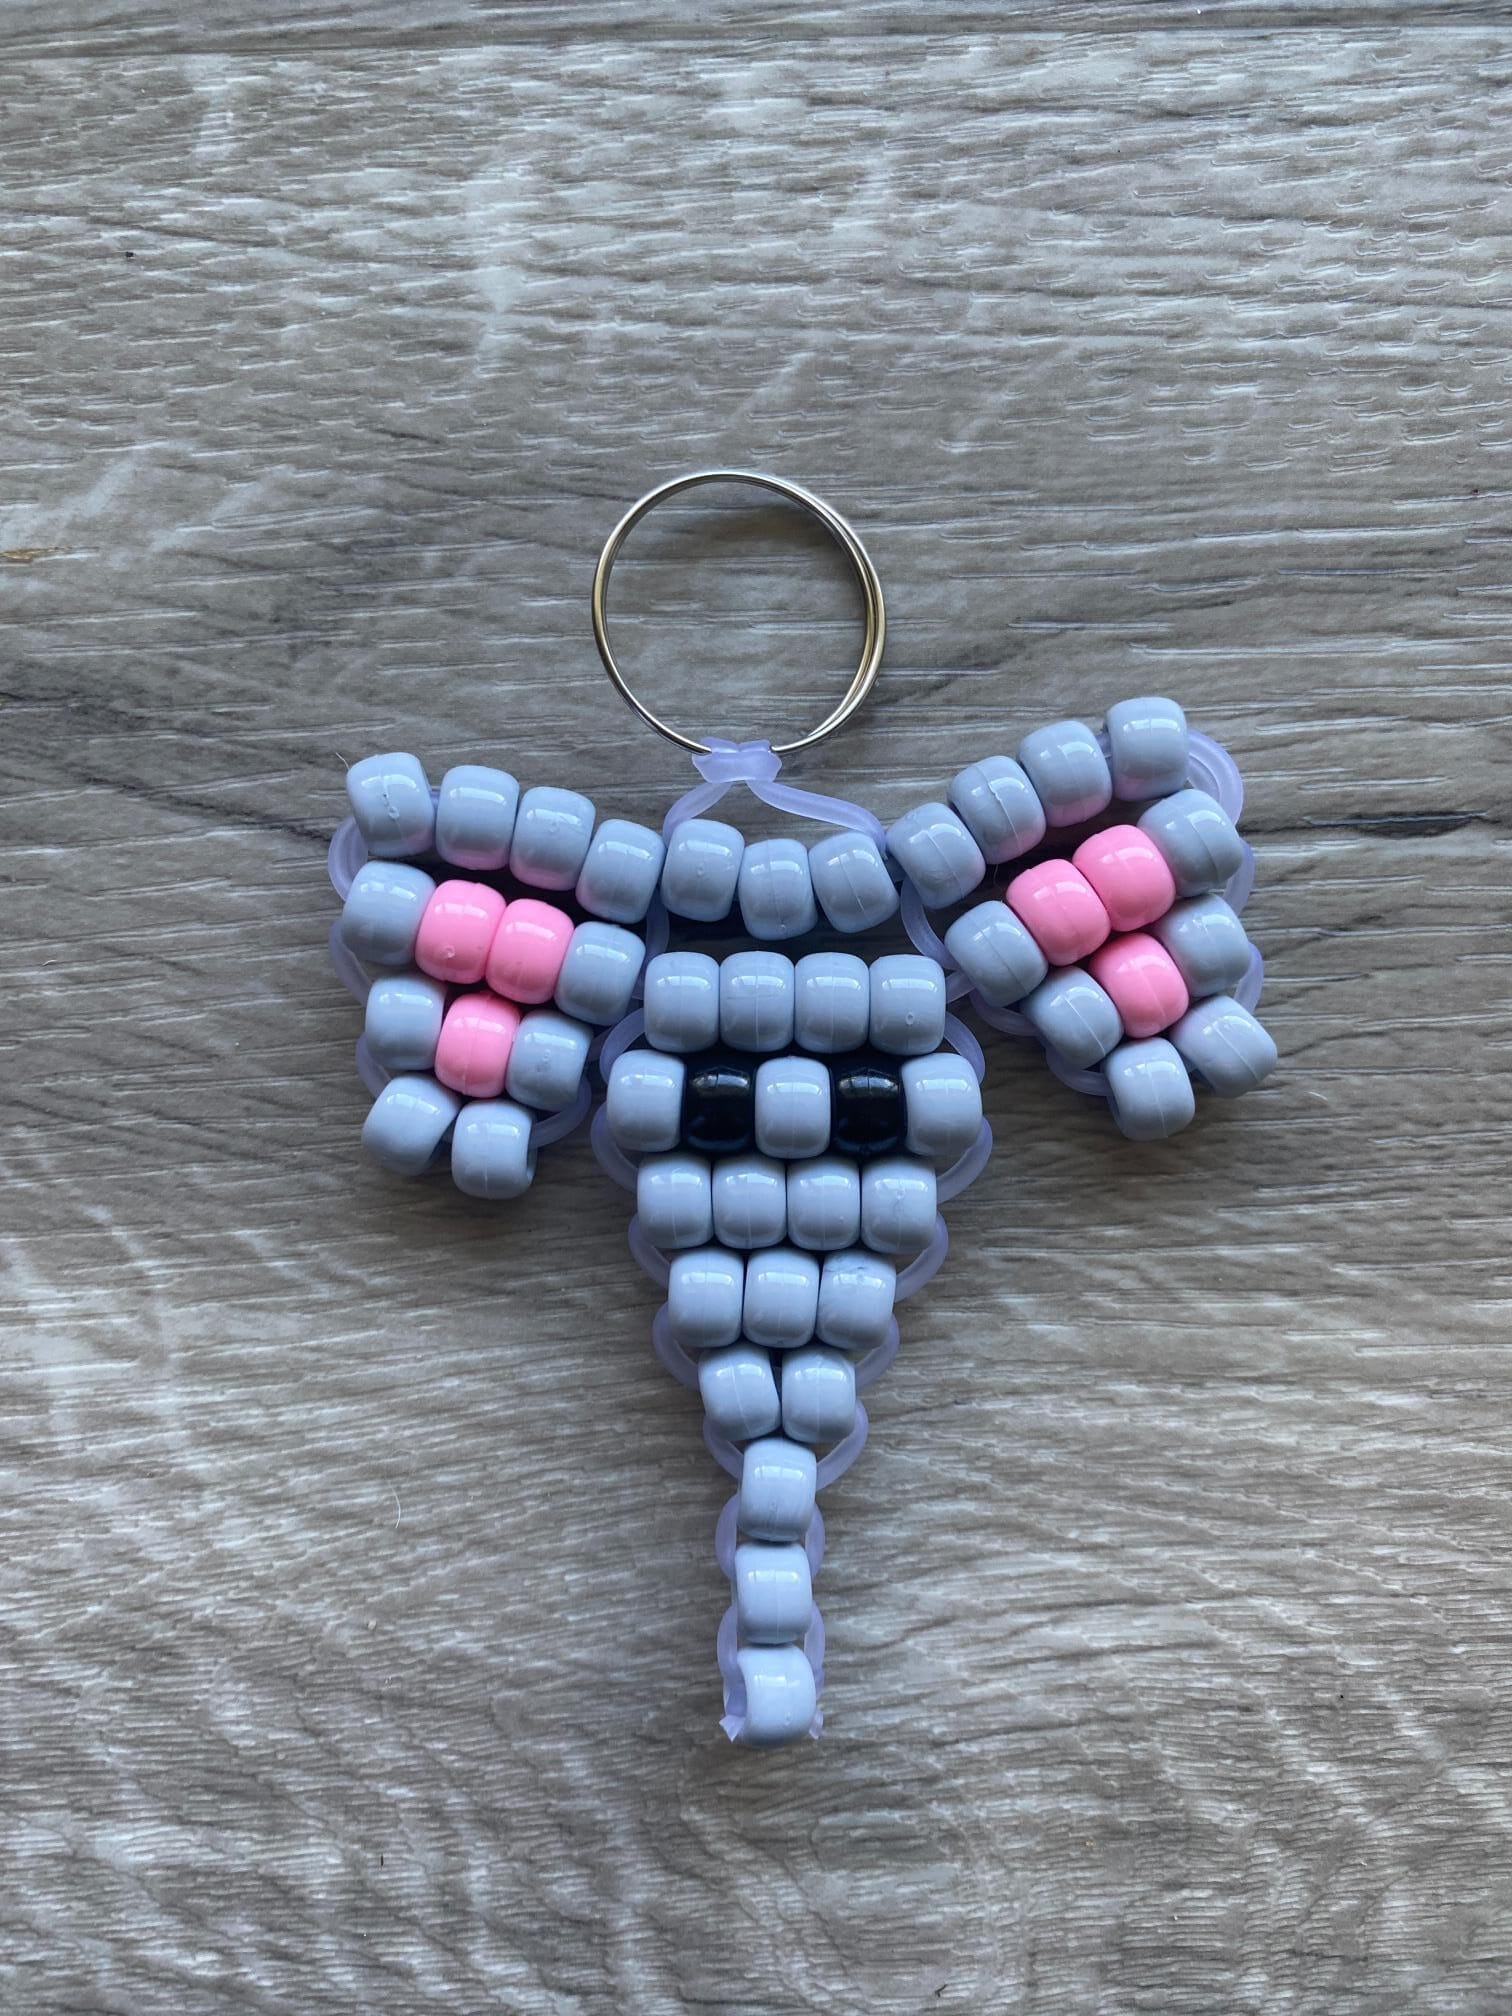
If you’re looking for a charming new pony bead project, this elephant pony bead bag charm is guaranteed to make you smile. Featuring the elephant’s expressive head complete with wide ears, this design has so much personality packed into a small, clip-on charm.
Elephants are beloved for a reason. They symbolize wisdom, good luck, strength, and loyalty, which makes an elephant charm a meaningful handmade gift as well as a fun craft. Clip it onto a backpack, purse, or keychain and it instantly becomes a conversation starter.
Why You’ll Love This Craft
What makes this elephant pony bead bag charm so fun to make is that the head-only design captures all the most recognizable features of an elephant without being overly complicated. Even first-timers can pull this off in a single crafting session.
The charm also works beautifully in a wide range of color palettes. Classic gray is always a winner, but this design is just as cute in soft lavender, dusty blue, warm taupe, or even blush pink for a whimsical twist. You can also customize the eye bead and tusk color to make each one feel unique.
Fun Elephant Color Ideas
Not sure which colors to use? Here are some combinations to spark your creativity:
- Classic Elephant – medium gray body, white tusks, black eye bead
- Baby Elephant – soft light gray or pale blue, pink inner ear accent
- Purple Elephant – lavender or violet body, white or silver tusks
- Safari Style – warm taupe or tan body, ivory tusks, brown eye
- Pastel Parade – blush pink body, cream tusks, rosy cheek beads
- Midnight Elephant – charcoal or dark navy body, silver or white accents
Supplies Needed

Before you get started, gather the following supplies:
How to Make an Elephant Pony Bead Bag Charm
Step 1: Cut and Prepare Your Lacing
Measure and cut your pony bead lacing to 120cm.

Fold it in half and pull it through your keyring or lobster clasp to create a lark’s head knot, giving you two equal working strands.

Step 2: Lay Out Your Bead Pattern
Before you start stringing, lay your beads out on a flat surface using the reference photo below.

Since this design includes ears that extend out from the sides of the head, having your full pattern visible before you begin makes the process much easier and helps you avoid mistakes mid-project.
Step 3: String the Top of the Head
Thread the top row of gray beads onto the left lacing.

Pass the right lacing through those same beads in the opposite direction.

Then pull both strands outward until the row sits flat and snug just below the keyring.

Keep your tension even but not too tight. A little give in each row keeps the finished charm flat and prevents curling.
Step 4: Add the Left Ear
Now string the top row of the left ear onto the left lacing.

Then string all remaining rows of the left ear, from top to bottom, onto the left lacing.

Loop the left lacing around and back through three beads, skipping two.

Pull it taut. It doesn’t matter if the new row ends up on the top or bottom. You can flip it under later.

Now loop the left lacing around and back through the next four beads.

See how the rows flipped to the bottom this time?

Once again, loop the left lacing around and back through the next four beads.

Pull the lacing taut and make sure the ear is hanging down now. If it’s not, just flip it and pull about. The lacing won’t break.
Step 5: Add the Right Ear
Starting back at the top of your bead pattern, string all the beads for the right ear onto the right lacing.

Then loop the right lacing around and back through three beads, skipping two.

Continue looping around and through four beads, twice, and you should have two hanging ears.

Step 6: Add the Face
With the ears in place, push each lacing back through the second row of each ear. If you find it difficult, try using a chopstick or plastic needle to pass it through.

Now you are ready to continue adding rows of beads. Working from top to bottom of your design, string the next row of the head onto the left lacing.

Thread the right lacing up through the beads and pull in opposite directions until taut, just as you did for the very first row.

Repeat this technique to add rows from top to bottom.

Continue until all your beads are strung.

Step 7: Secure the Lacing
Loop each lacing strand through the row directly above it and tie a firm single knot. This locks everything in place and keeps your charm from unraveling with everyday use.

Step 8: Trim the Excess
Trim the remaining lacing ends close to the knot with your craft scissors. Your elephant pony bead bag charm is done!

Where to Use Your Finished Charm
Your elephant pony bead bag charm is durable and lightweight enough for daily use. Try clipping it onto:
- Backpacks and school bags
- Tote bags and purses
- Keychains
- Lunch bags
- Pencil pouches
- Zipper pulls
- Water bottle carabiners
It also makes a wonderful handmade gift, party favor, or good luck charm, especially meaningful for anyone who loves elephants or collects elephant-themed items.
More Pony Bead Crafts You’ll Love
If you enjoyed making this elephant pony bead bag charm, here are a few more fun tutorials to try: