
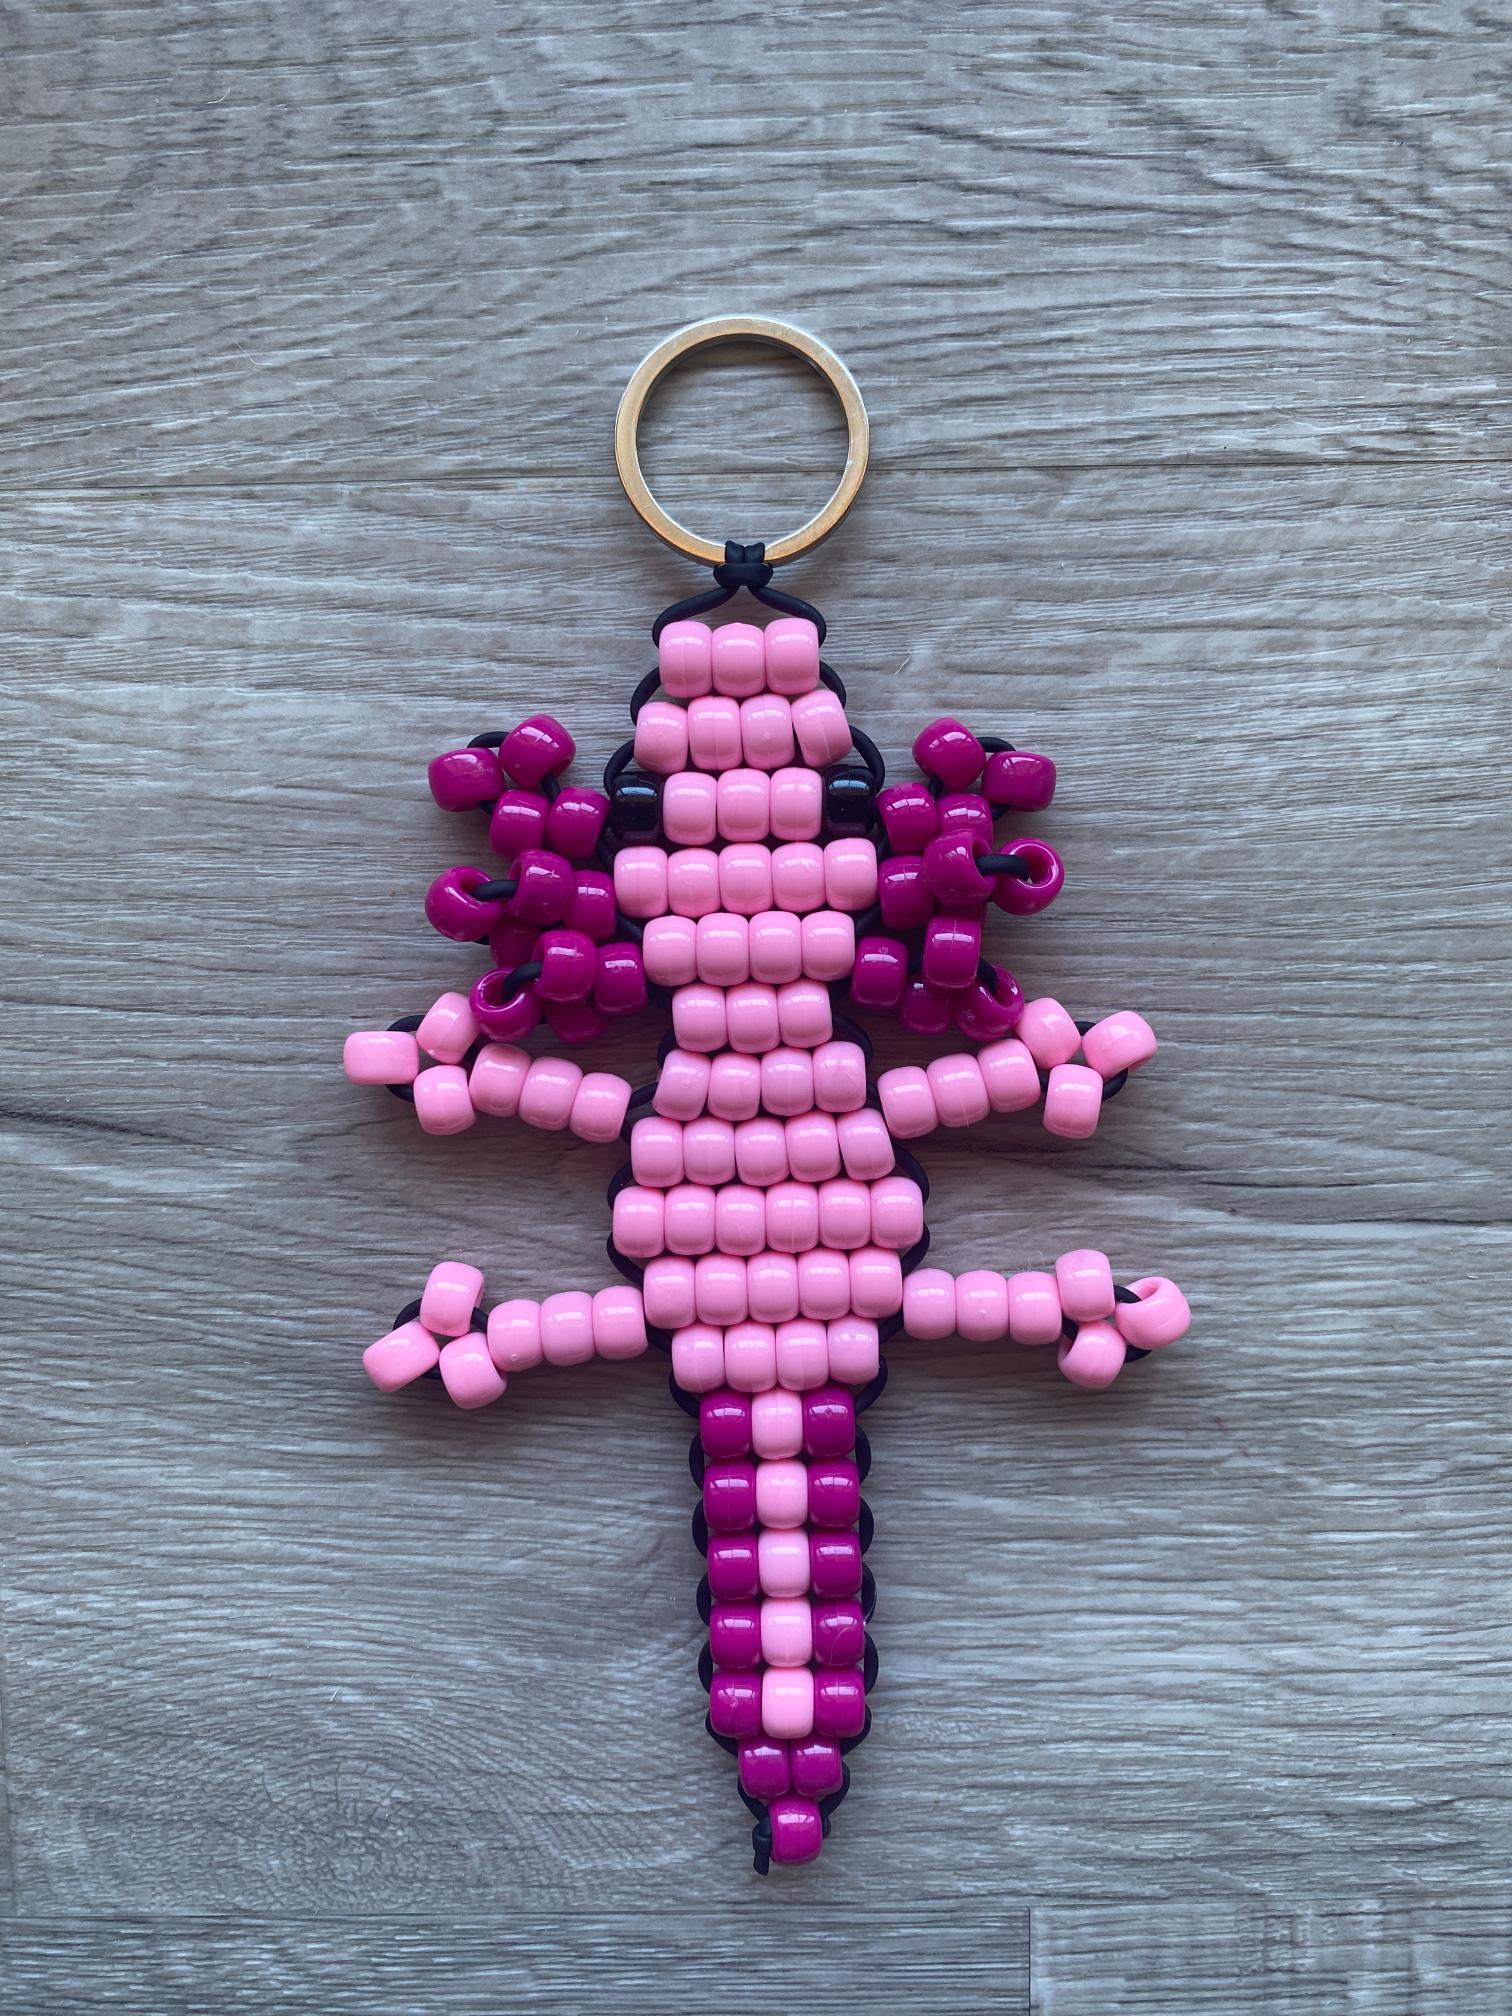
Whether you’re obsessed with these smiley little amphibians or just looking for your next fun bead project, this pony bead axolotl bag charm is guaranteed to make you smile. In this tutorial, we’ll walk through every step so you can make your own adorable kandi axolotl to hang on your bag, backpack, or keyring.
Axolotls have become one of the most beloved creatures in crafting and gaming culture, and it’s easy to see why. Their wide eyes, feathery gills, and permanent smiles make them irresistible. The good news is that they translate beautifully into pony bead form, and this project is totally beginner-friendly.
Why You’ll Love this Project
Pony bead animals are satisfying to make because you can see your creation come together row by row. The kandi axolotl is a great next step if you’ve already made the fish bag charm or lizard keychain. The technique is the same, but the shape adds a fun new challenge with the signature gill details. Kids and adults both love the finished result, and it makes a wonderful handmade gift too.
Supplies You’ll Need

Before you get started, gather the following:
- Pony beads in pink, white, and black (or your favorite axolotl color combo)
- Pony Bead Lacing (60″ long)
- Scissors
- Ruler
- Keyring or lobster clasp (optional, for attaching to a bag or keychain)
Pink and white are the classic axolotl colors, but feel free to use lavender, peach, or even glow-in-the-dark beads for a fun twist!
Step 1: Prepare Your Lacing

Cut approximately 90″ (225cm) of pony bead lacing. It’s always better to have more than you need. You can trim the excess at the end.

Fold the lacing in half to find the center point, then loop it through your keyring to secure it before you begin beading.
Step 2: Lay Out Your Pattern
Before stringing any beads, lay out your axolotl pattern using the photo guide below. This makes it much easier to follow the design row by row without losing your place.

The axolotl body is wider in the middle and tapers toward the tail, with the iconic feathery gill stalks extending from the top of the head. Use black beads for the eyes and pink or white for the body.
Step 3: String the First Row

String the beads for your first row onto the left lacing. Then thread the right lacing up through those same beads in the opposite direction and pull both ends gently until the row sits snug.

Avoid pulling too tightly. This can cause your rows to curl up instead of lying flat.

Step 4: Continue Row by Row
Repeat Step 3 for each row, working your way down through the pattern.

Keep your tension consistent as you go. Even, gentle pulls will keep your charm flat and neat.
Step 5: Adding the Frills
To add a frill to the side of the head, string all four beads onto the left lacing.

Then loop the left lacing around and back through the first bead of the frill.

Pull it taut (but not too tight!)

Repeat Step 5 for the right frill and additional frills as you continue to move through the pattern.


Step 6: Add the Arms

To add the left arm, string all six beads onto the left lacing.

Then loop the left lacing around and back through the first three beads.

When you pull it taut, the hand will automatically form.

Repeat Step 6 to add the right arm. Then continue adding rows.


Step 7: Tie to Secure

Once all your beads are strung, tie each lacing end in a single knot to secure. Pull the knots snug but not so tight that they cause the beads to bunch or roll. A single knot works perfectly with pony bead lacing.
Step 8: Trim the Excess
Use craft scissors to trim any remaining lacing close to the knots. And that’s it! Your pony bead axolotl bag charm is complete.

Clip it to your backpack, tote bag, keyring, or purse for an instant dose of handmade charm.
Tips for Success
- Use contrasting colors for the eyes. Black beads against a pink or white body make the face pop.
- Lay out the full pattern before you start. Axolotls have a more complex silhouette than basic shapes, so having everything organized first saves time.
- Pull lacing evenly. Consistent tension keeps your rows straight and your charm looking polished.
- Work on a flat surface. This helps you keep track of your pattern and prevents beads from rolling away.
- Make it your own. Try golden axolotl colors, pastel rainbow rows, or glitter beads for a sparkly version.

Variations to Try
Once you’ve made your first axolotl, here are some fun ways to mix it up:
- Golden Axolotl: Use yellow and gold beads for the rare golden colorway that fans of a certain popular game will recognize immediately.
- Pastel Rainbow: Use a different soft color for each row for a dreamy, gradient look.
- Glow-in-the-Dark: Swap in glow beads for a charm that’s extra magical at night.
- Axolotl Garland: Make several in different colors and string them together for a whimsical room decoration.
Pony bead axolotls are one of those projects that look impressive but are totally achievable, even for beginners. Once you make one, you’ll probably want to make a dozen.
Happy crafting, and may your little axolotl bring smiles everywhere it goes!
More Pony Bead Crafts
If you like this tutorial, you’ll love these craft projects made with pony beads too: