
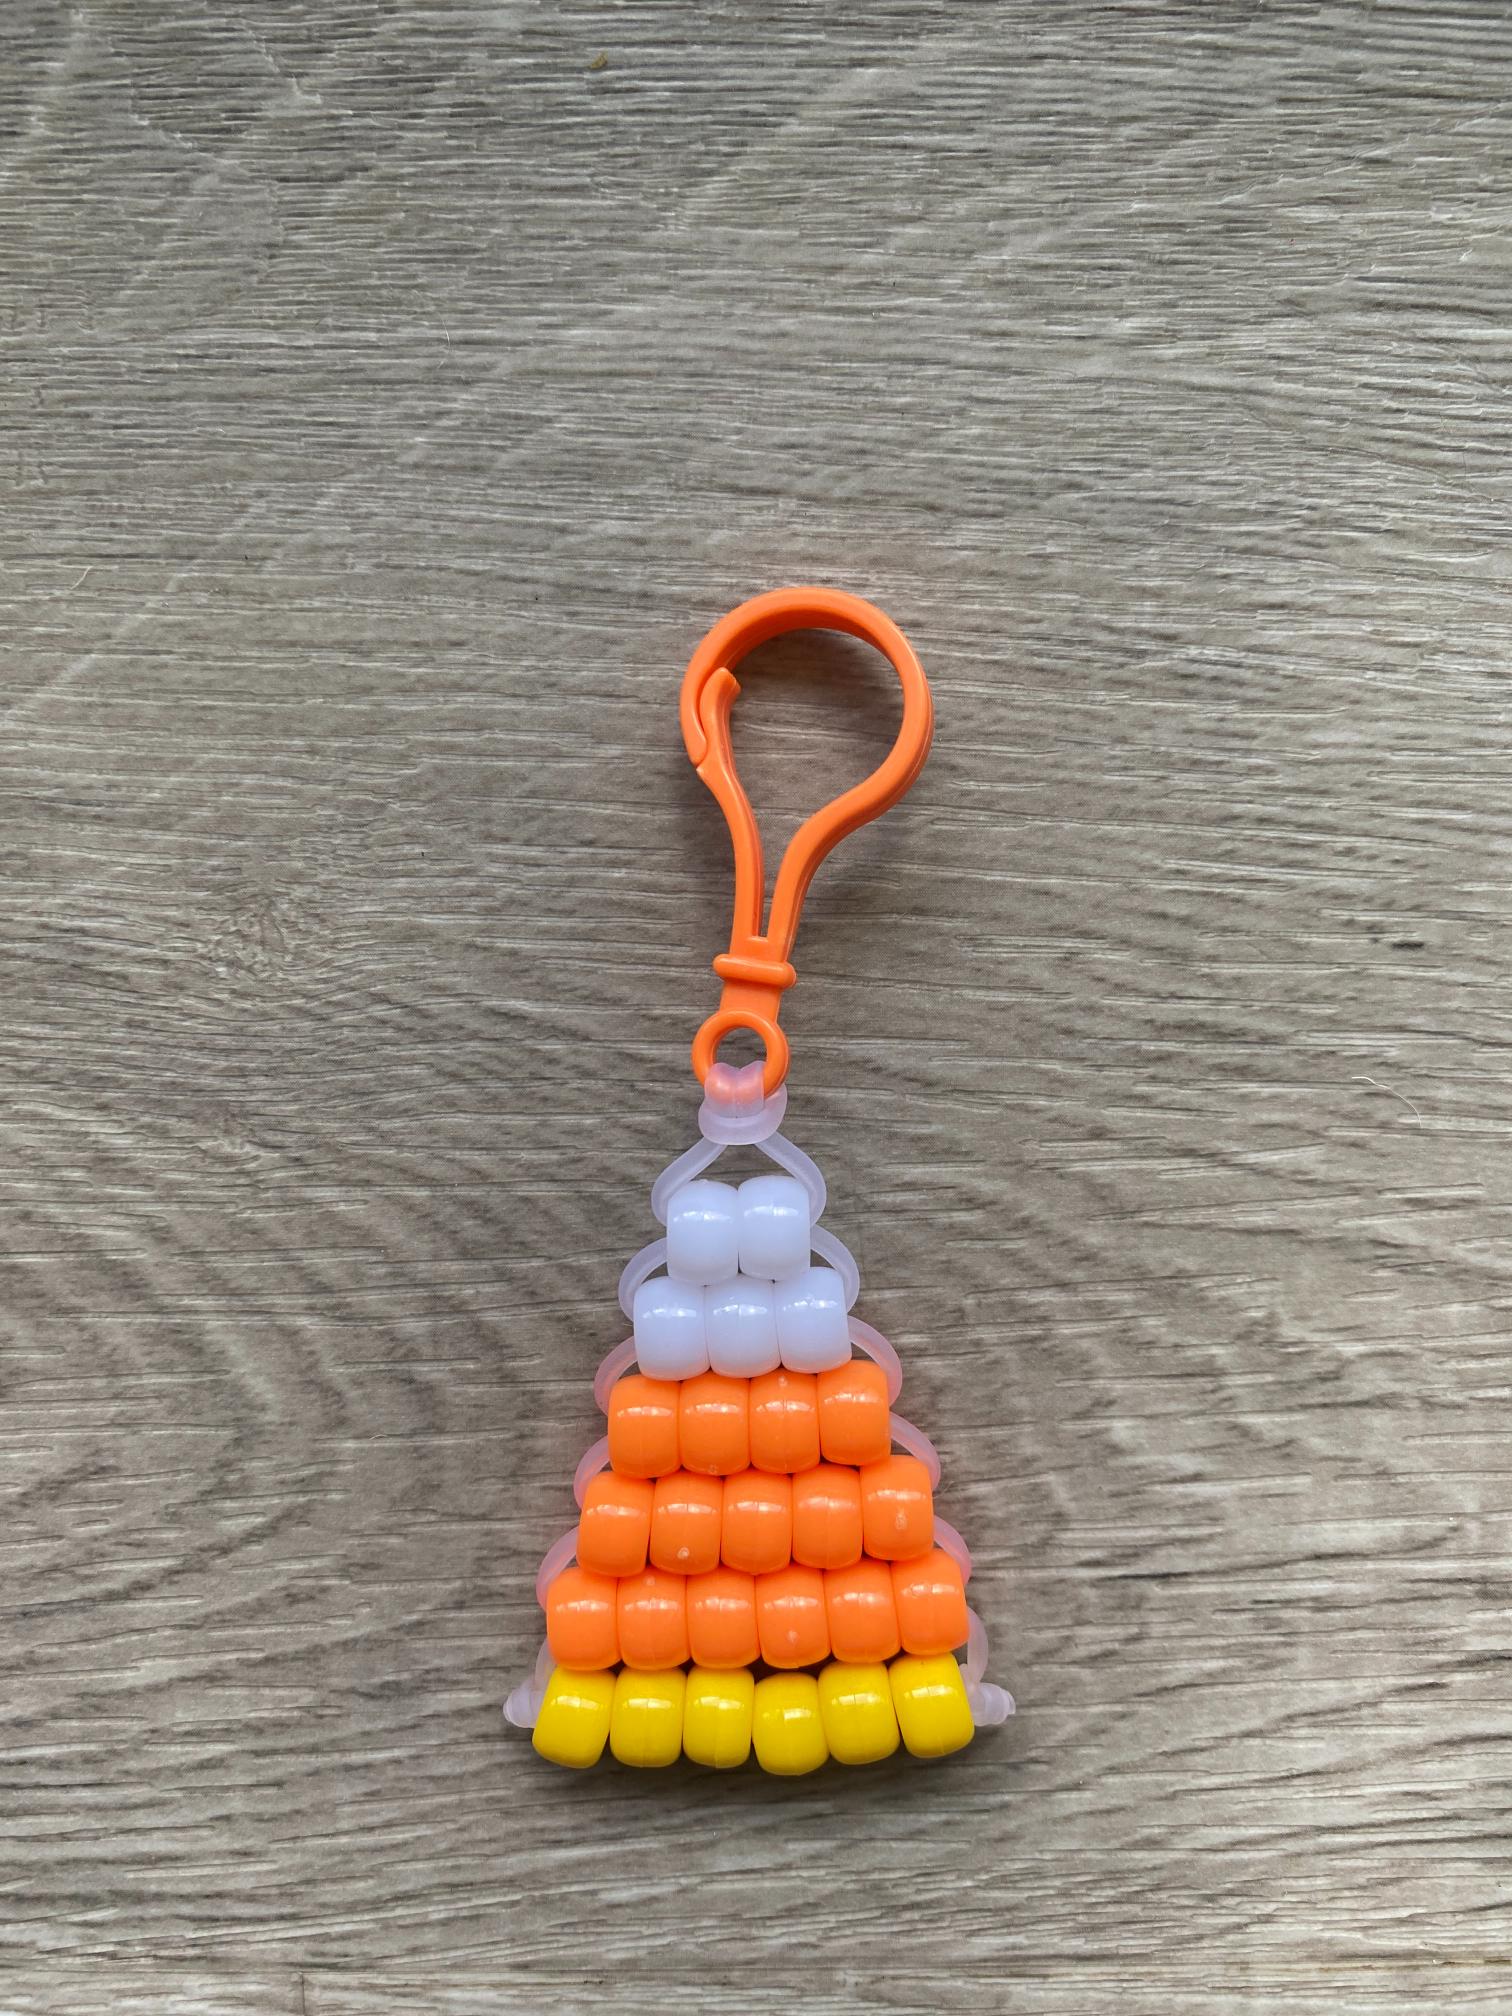
Nothing says fall craft season quite like a little pony bead candy corn charm swinging from your backpack or keys. It’s bright, nostalgic, and instantly recognizable. This pattern is quick to make, beginner-friendly, and a perfect addition to your fall and Halloween lineup.
Pony bead seasonal charms are always a hit in the kandi and bead-crafting community, and candy corn is one of those designs that never goes out of style. It’s simple enough for a first-time beader but charming enough that you’ll want to make a whole batch for gifts, party favors, or your own bag.
Why You’ll Love This Pattern
- Only needs three colors, so it’s quick and budget-friendly
- Small and fast enough to make several in one sitting
- Works great as a bag charm, keychain, zipper pull, or garland piece
- A fun, low-mess craft for Halloween parties or fall classroom activities

Color Scheme Ideas
The classic candy corn look is iconic, but here are a few ways to put your own spin on it:
- Classic Candy Corn – white tip, orange middle, yellow base, just like the original
- Spooky Candy Corn – black, purple, and orange for a Halloween-forward look
- Harvest Candy Corn – cream, deep gold, and brown for a more rustic, autumn feel
- Reverse Candy Corn – flip the classic order for a fun twist on a familiar shape
- Glow Candy Corn – swap in glow-in-the-dark or UV beads for a charm that pops at night
- Rainbow Corn – mix in unexpected colors for a playful, non-traditional take
Supplies You’ll Need
Here’s everything you’ll want to have on hand before you get started. These are the exact supplies used in this project. Grab them below:

How to Make a Pony Bead Candy Corn
Step 1: Prepare the Lacing
Begin by measuring 100 centimeters of pony bead lacing, and cut it to length with craft scissors.

Then fold the lacing in half and pull it through your key ring or lobster clasp.

Step 2: Lay Out Your Pattern
Next, use the photo below to lay out your pattern in pony beads. This is a great time to experiment with different colors.

Step 3: String Beads
Now string the top row of beads onto the left lacing.

Now thread the right lacing up through the beads.

Pull the lacings in opposite directions until the beads form a horizontal row just under the key ring (or lobster clasp).

Step 4: Add More Rows
String the second row of beads onto the left lacing.

Thread the right lacing up through the beads, and pull in opposite directions just as you did for the first row.

Continue working through your pattern from top to bottom to add more rows…

Until all your beads are strung.

Step 5: Secure the Lacing
To secure everything, loop each lacing through the row above it. Then tie each one into a single knot.

Step 6: Trim Excess Lacing
Use craft scissors to trim excess lacing near the knots.

You made a pony bead candy corn!
More Pony Bead Patterns You’ll Love
If you had fun with this one, check out these other pony bead tutorials on the blog:
- How to Make a Corn Pony Bead Bag Charm
- DIY Pony Bead Pumpkins: The Perfect Fall Craft
- 10 Pony Bead Patterns You Need to Make (Beginner-Friendly)
- How to Make a Pony Bead Mean One Bag Charm
Be sure to tag me if you make your own pony bead candy corn. I’d love to see it.